
Waking up this morning with a full heart of thanks.
I hope this message finds you well friend.
As I welcomed and hugged friends that are like family, into my Mom’s home yesterday to celebrate Thanksgiving…I was deeply convicted of how grateful I am to safely gather again.
In other words?
The band’s back together again…and it felt so good.

Now, on this Black Friday, if your email is anything like mine, it is ringing and dinging with all the things.
And now that Thanksgiving 2021 is already in the rearview…I pray that we will carry a deeply tuned sense of gratitude and clarity for what we want to carry and take with us into this holiday season that is upon us.
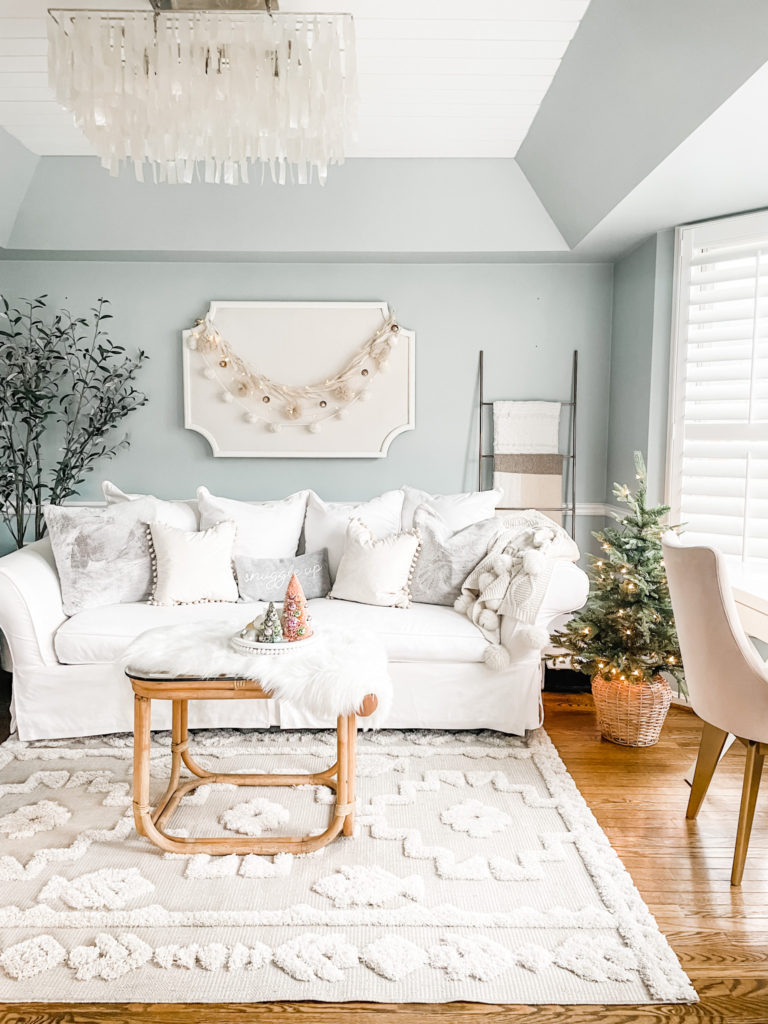
Oh how excited I am to take you along for all things holiday around here.
I have had so much fun slowly waking up our Christmas decorations from storage. Gently deciding what I will keep the same as previous years and what I may change up a taste.
This past week, I decided to take a risk.
If you follow me on Instagram, then you already know I gave the outdoor rug that has been outside everyday, on our patio since the Spring, a new location.
I drug her from the backyard patio around to to the garage, where I vacuumed her with our wet dry vac and then spot treated her with the best professional grade stain remover EVER.
Yes, you need this in your life.
Yes, you want two bottles because you will wonder how you ever lived without it.
Trust me on this friend.
And now?
Now the outdoor rug that weathered all the weather?
Now, she is sitting pretty in my home office.
Can you believe it?
I can hardly.
And while I can’t wait to show you all the other fun and different things I have been up to around here while I have been listening to Kenny G Christmas music non-stop on Alexa…
I have something else I want to show you first before we jump ahead to all things Christmas decor inspo.
My Christmas home tour will be coming out next week…but if you need a little inspiration now?
You can take my tour from last year, here in this post.
But right now?
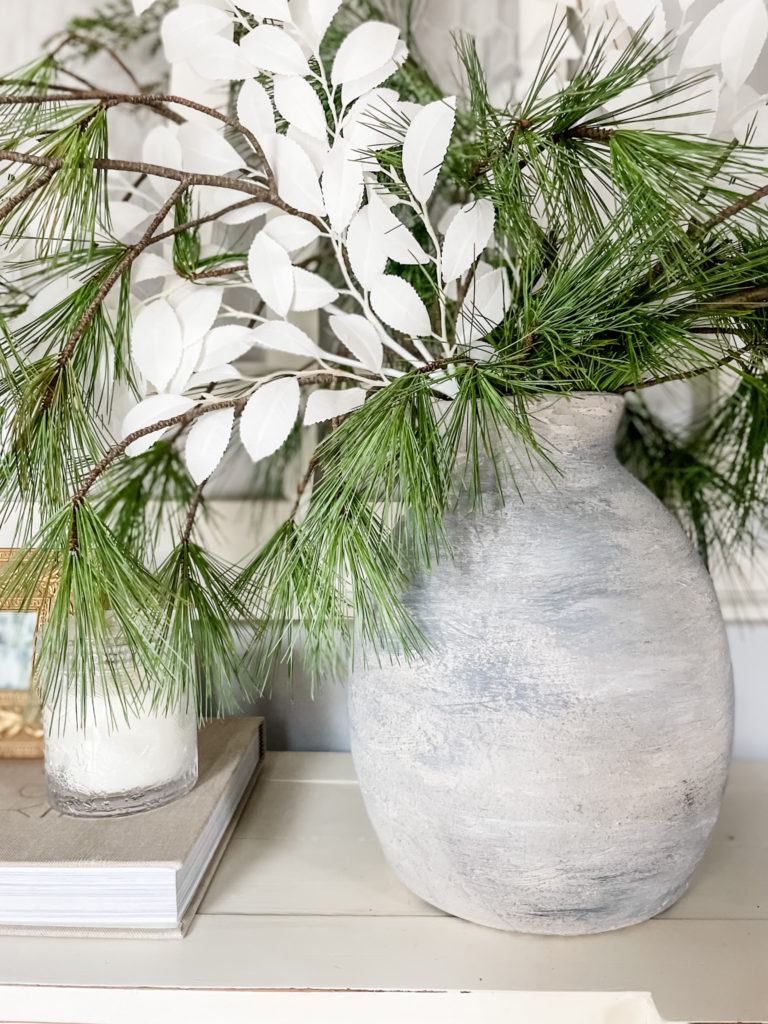
Right now, I am excited to share with you an easy peasy DIY weathered and textured vase transformation that you may find helpful for decorating your home this Christmas.
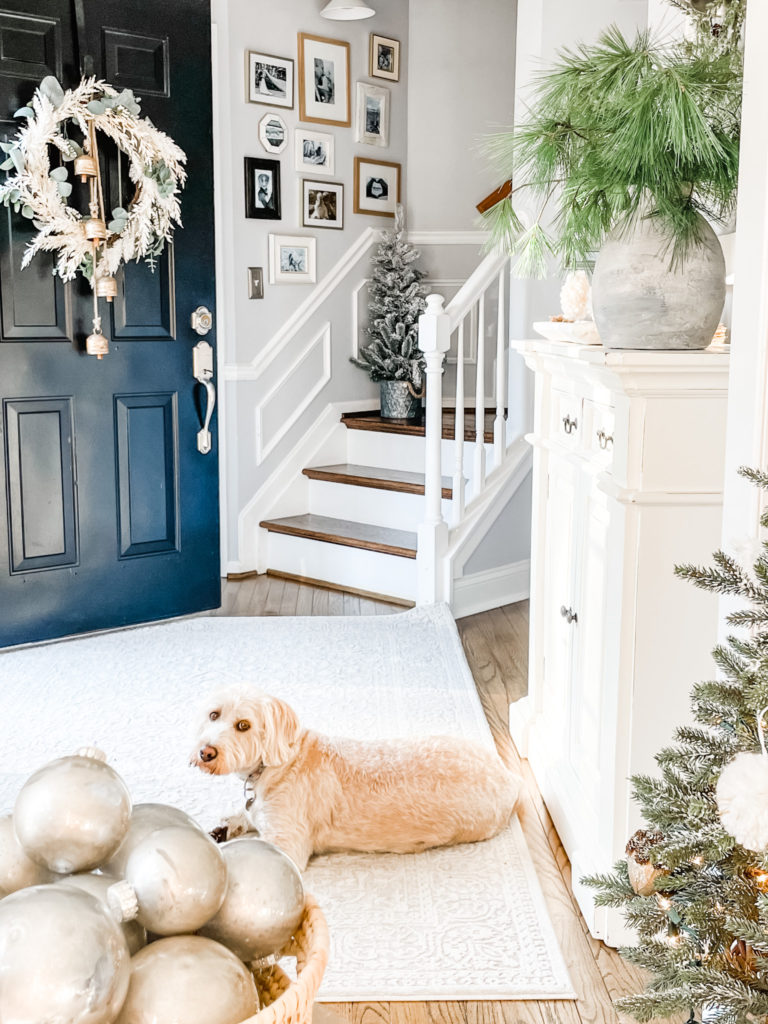
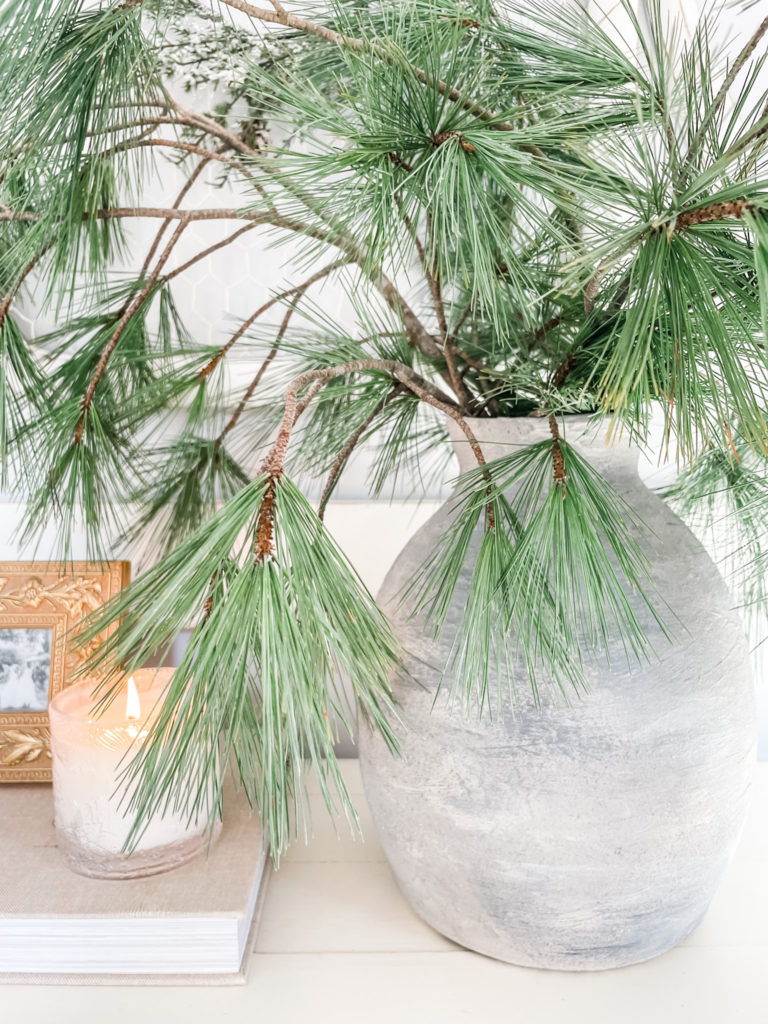
Do you see that jug vase sitting on the console in the entryway, holding those fresh white pine clippings from a tree in our yard?
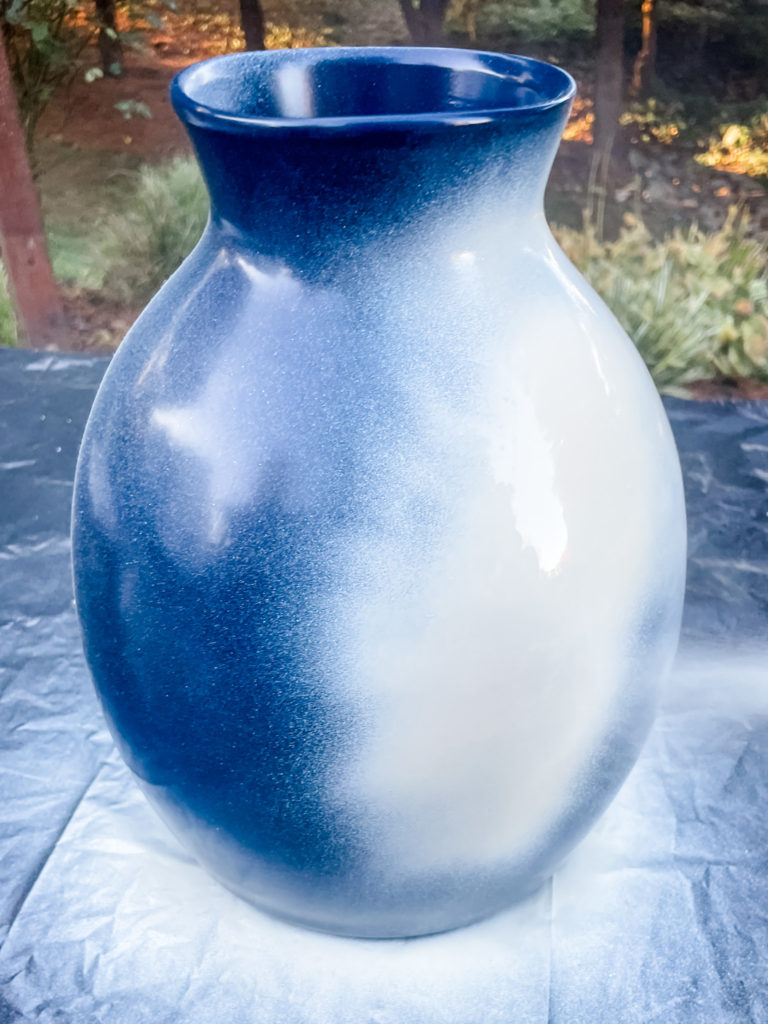
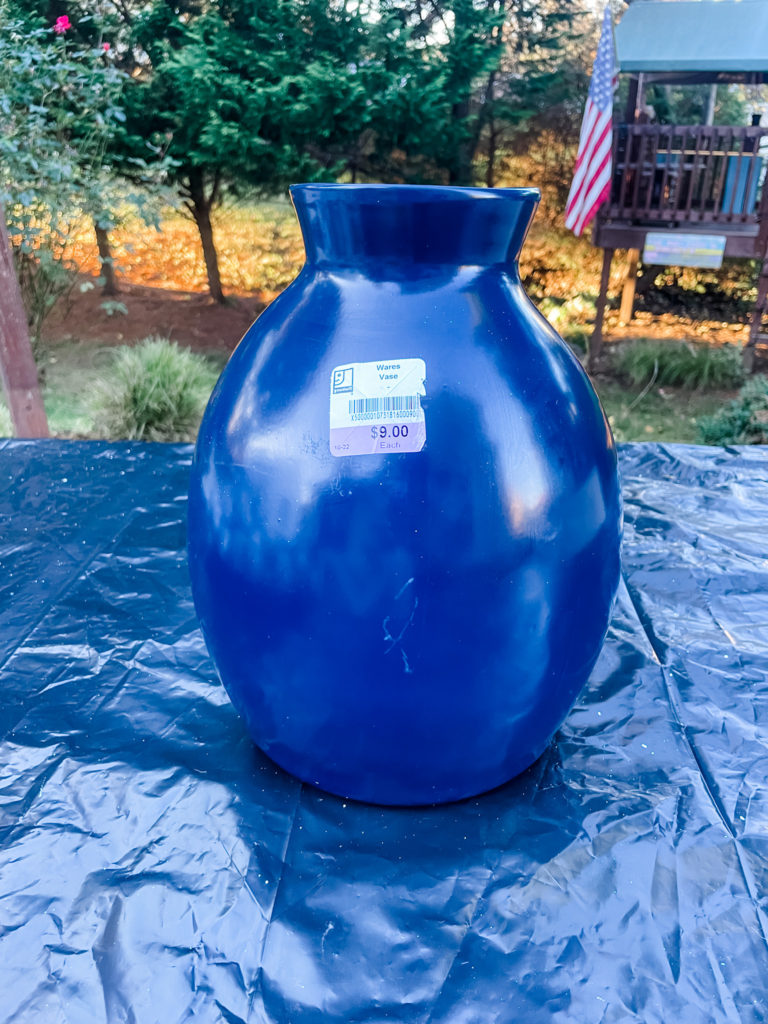
It used to look like this.

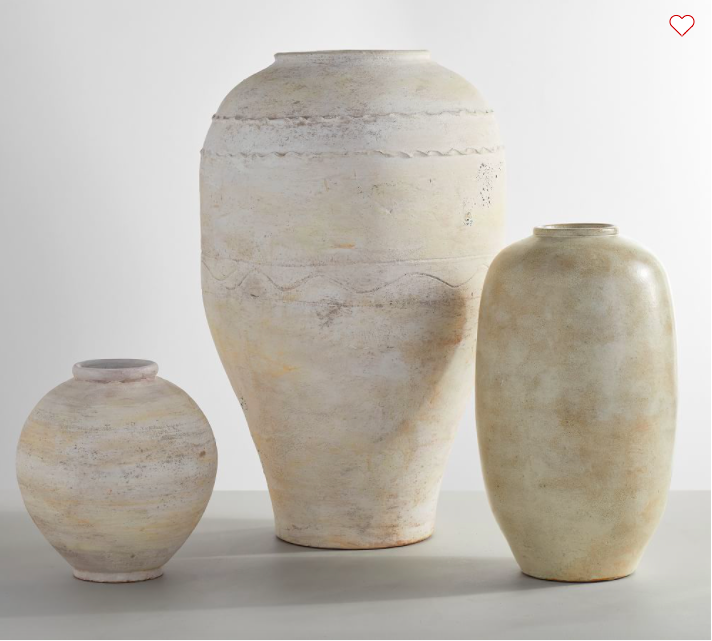
I spotted this beauty at our local thrift store and immediately thought of the similarity in shape and size as some of the expensive ceramic jug vases that keep showing up online at places like Pottery Barn and West Elm to name a few.
For instance, this terra cotta vase collection from Pottery Barn ranges from $59-$349.
Or this “aged ceramic vase” from Anthropologie for $118.
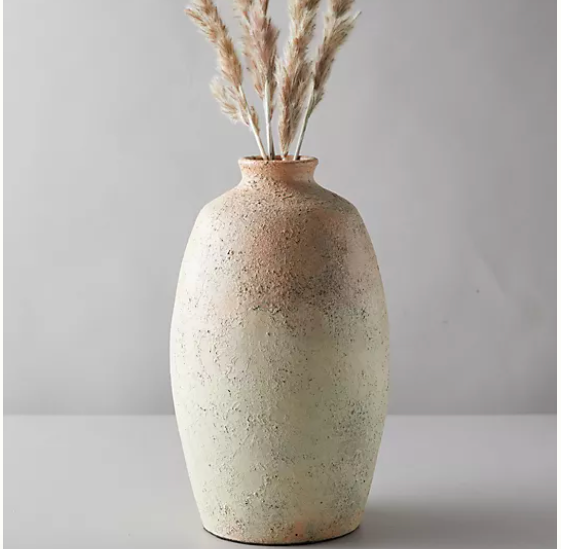
So yes, the $9 thrift store vase came home with me.
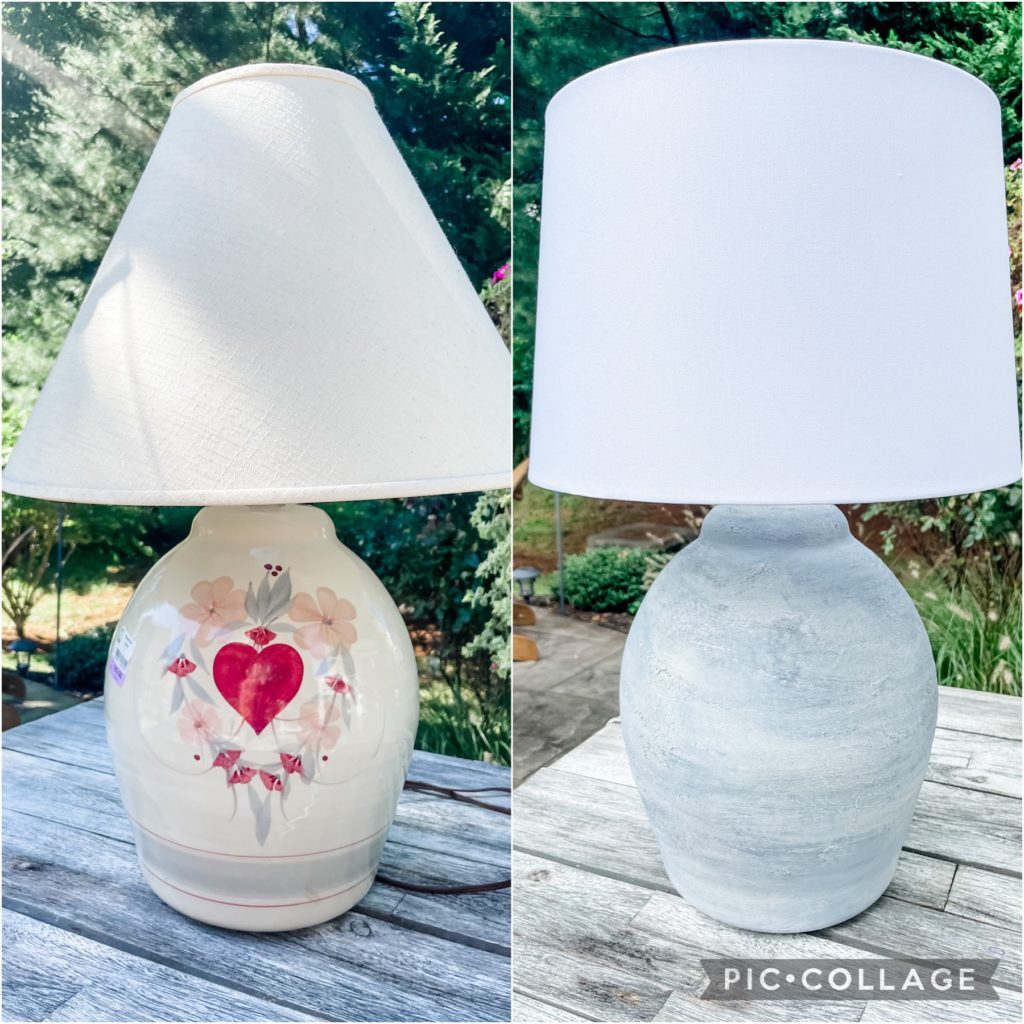
I used the exact same painting technique on this vase as I did to the thrift store lamp that I made over just a few months ago.

You can see more about this DIY lamp transformation here in this post.
Back to this thrift store vase turned into faux aged ceramic beauty.
Want to know the simple steps to go from throw away vase to Pottery Barn dupe magic?
Follow me friend.
Step One : Cover the vase or container with a coat of spray paint.
I used this Rust-oleum Painter’s Touch in Heirloom White satin, you can get it here from Home Depot.
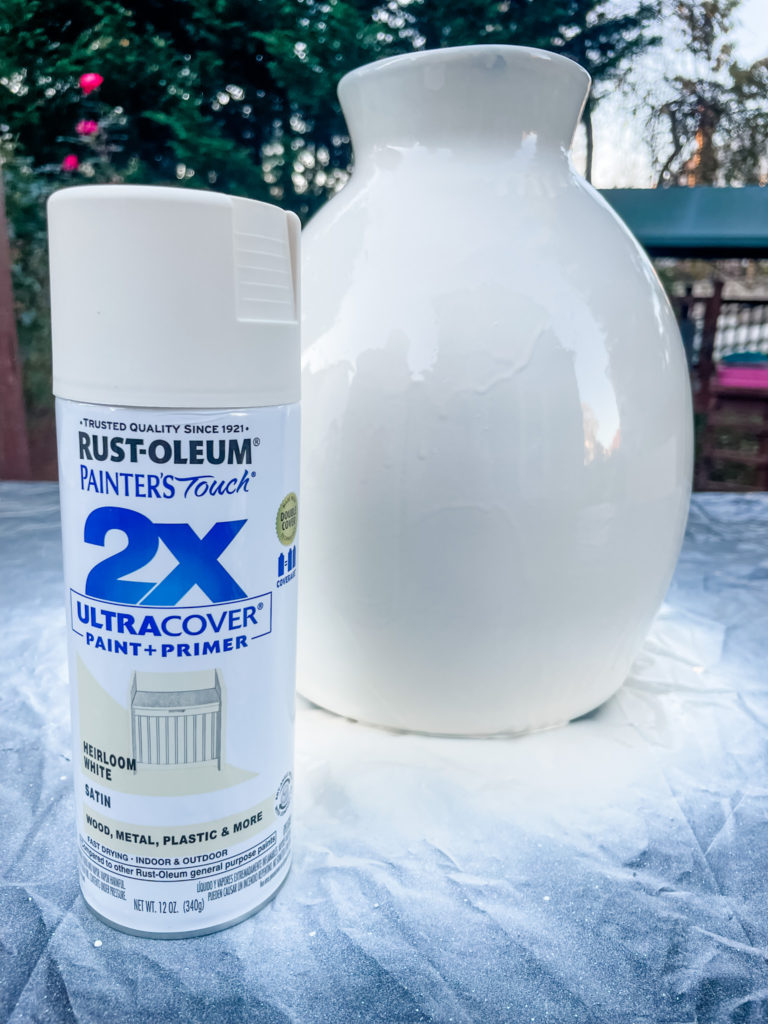
The spray paint is simply your base coat to cover up any design or original color of your container or vase. The best part about this is that you do not need to worry about the spray paint running or any drip marks, because the spray paint will all soon be painted over as we layer on different paint colors.
Step Two : Mix your main paint color with 2 tablespoons of baking soda and 1 tablespoon of salt.
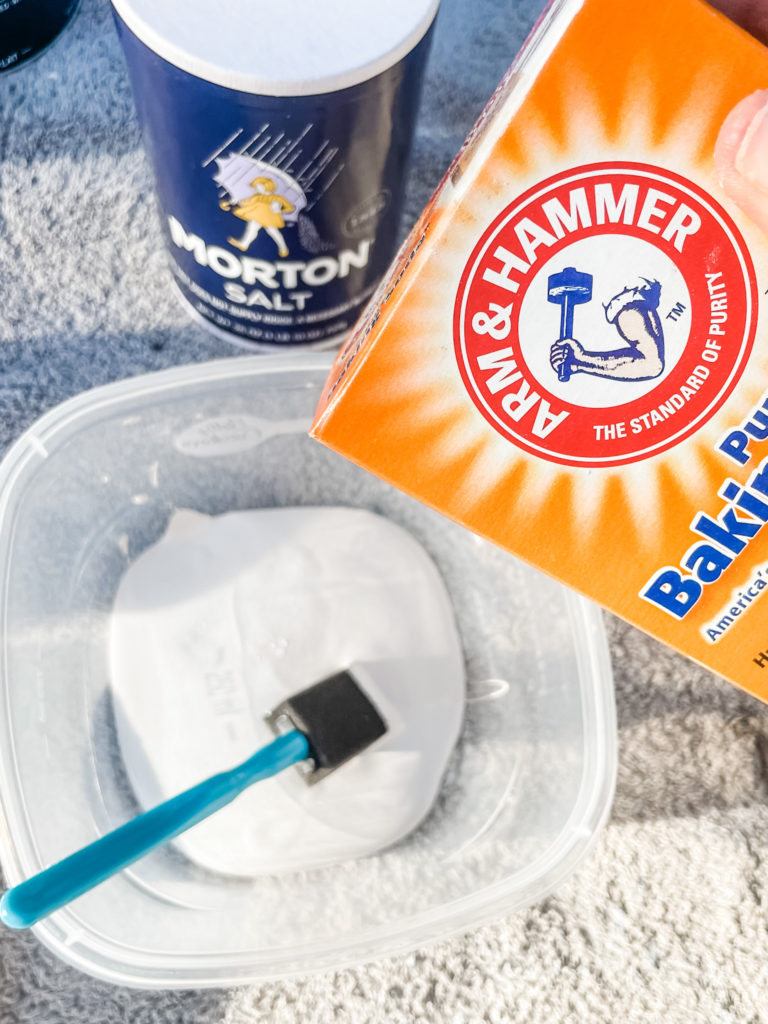
In the picture above, I have poured a small amount of my main paint color into a plastic bowl and I am pouring in the 2 tablespoons of baking soda and will then add the 1 tablespoon of salt.
The salt is the helpful ingredient that adds the bit of grit and texture that offers a unique character to your DIY masterpiece.
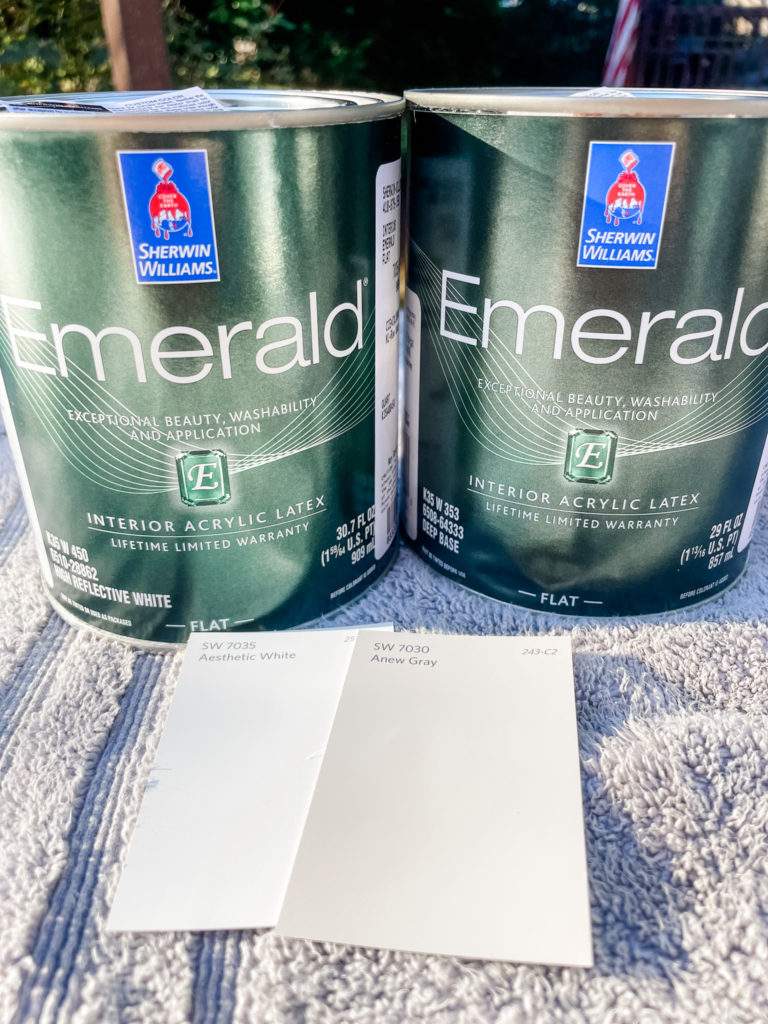
For the main paint color of this vase I used Anew Gray by Sherwin Williams.
Step Three : Paint the main paint color mixture onto the pot or vase

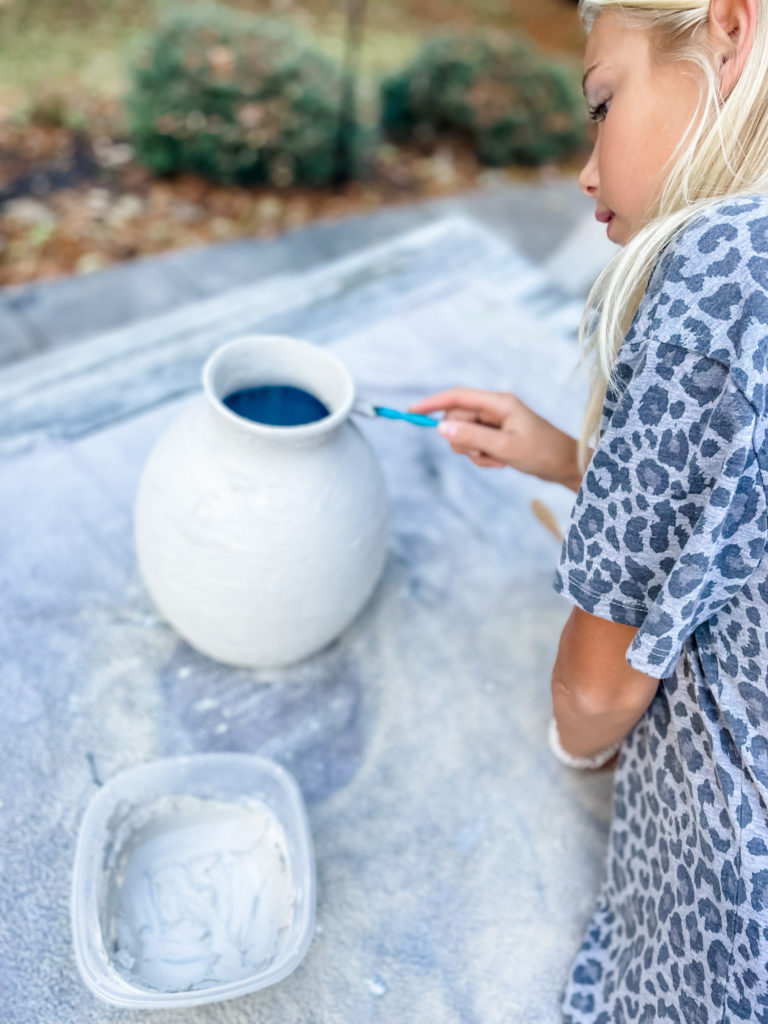
Whenever I “get into something” like a DIY project, I love that our daughters ask to help.
The blessing in these DIY’s is that there isn’t any pressure to make it perfect.
It truly is an opportunity to exercise the willingness to try something new.
A runway to be creative and see it through the process…and not be concerned with the pressure…of anything. As is NO pressure. Can you just deep breathe that in for a minute?
I think that is why I love these thrift store DIY’s as much as I do.
I love delighting and dancing in the runway of a “no-pressure” zone.
There is something therapeutic in there friend.
Don’t take my word for it.
I hope this post inspires you to dance in your own runway of delight in the process versus frozen in the pressure.
This vase reminds me of this DIY project when I found an old window discarded as trash on the side of the road last Fall. The girls helped me to bring it back to life and in that…we discovered the beauty of Process OVER Pressure.
You can read about the project and this freeing mindset here in this post that I wrote exactly a year ago.
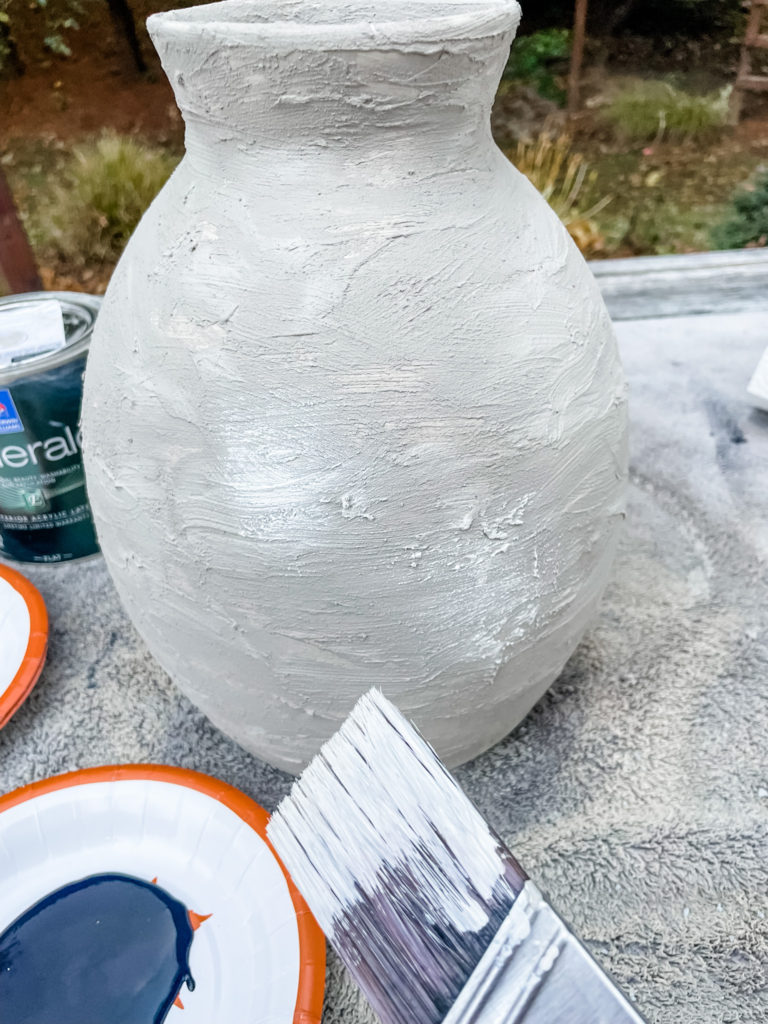
Once we painted the main paint color mixture all over the vase with a foam paint brush, we let the vase dry in the sun for 45 minutes.
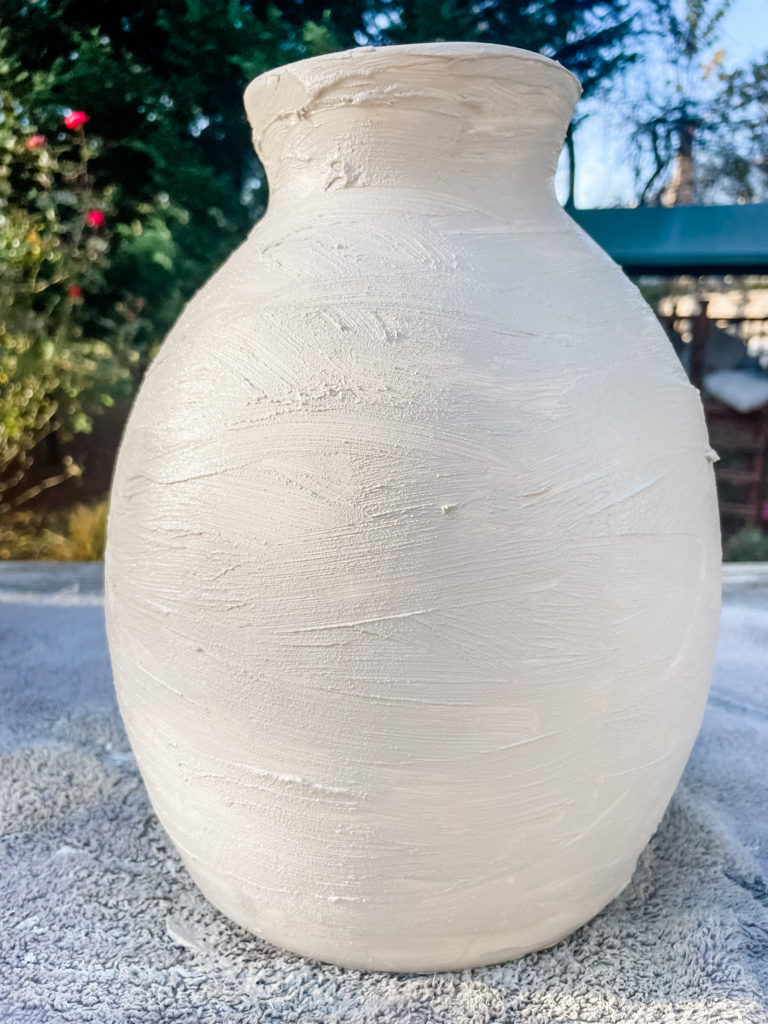
Step Four: Add Your 2nd Paint Color By Using a Dry Brush Technique
This is SUPER easy friends.
Here, I have poured my second and third paint color onto two separate paper plates.
You want to layer the vase with two more different paint colors in order to help give the vase that aged look of texture and character.
I used Aesthetic White and Tricorn Black, both by Sherwin Williams as my accent colors.
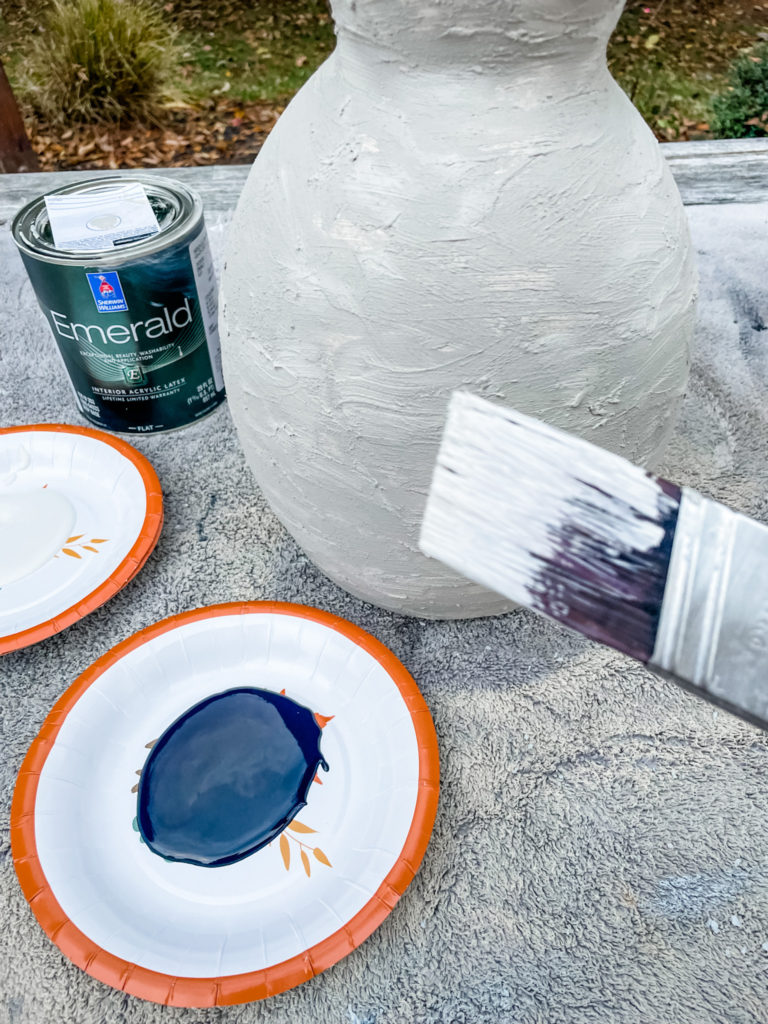
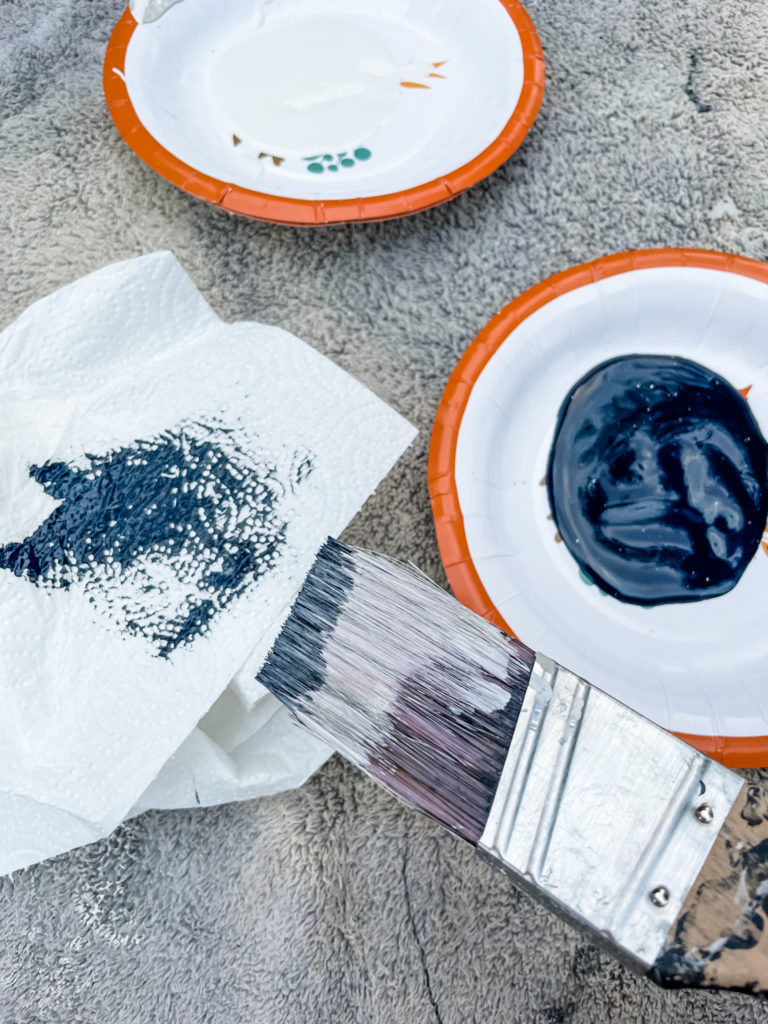
I started with the lighter color, Aesthetic White and dipped my paint brush into the small paint sample on the paper plate.
Then, in order to use a dry brush technique, I wiped most of the paint off of my brush with a paper towel.
With a gentle hand, I slowly whisked the paint brush around the vase, not pressing to hard.
Next, I followed the same technique with my third and final color of Tricorn Black, to help add depth and a darker tone.
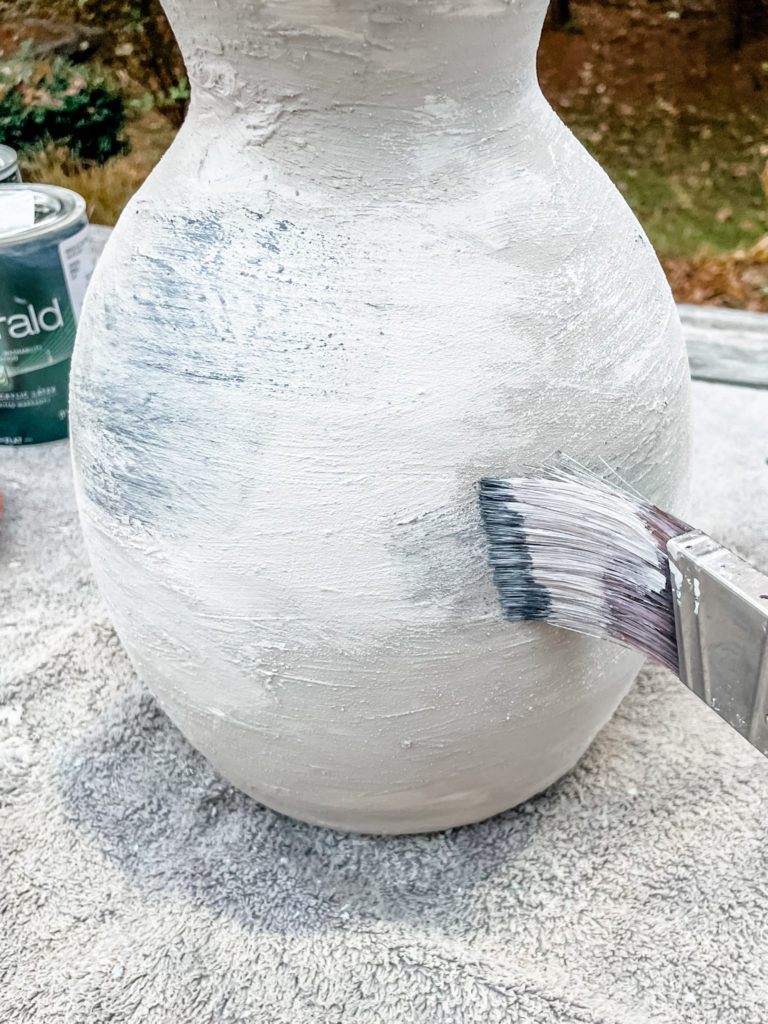
I continued dry brushing the accent colors until I was happy with the overall varied coloration of the vase.
Step Five: Blend the colors.
Use the foam paint brush and go back to the main paint mixture with salt and baking soda to smooth and soften any too dark or too light spots.
That’s it friend!
It truly is one of the EASIEST thrift store makeovers EVER.
Heck, I bet we could all round up a handful of containers and vases in our homes right now. Why not line them up in an assembly line to receive this super simple aged ceramic and DIY textured makeover!?
Last but not least…
Go outside with a pair of clippers and bring a few branches in to decorate your new vase with and enjoy the simplicity of adding a festive holiday touch from your backyard.
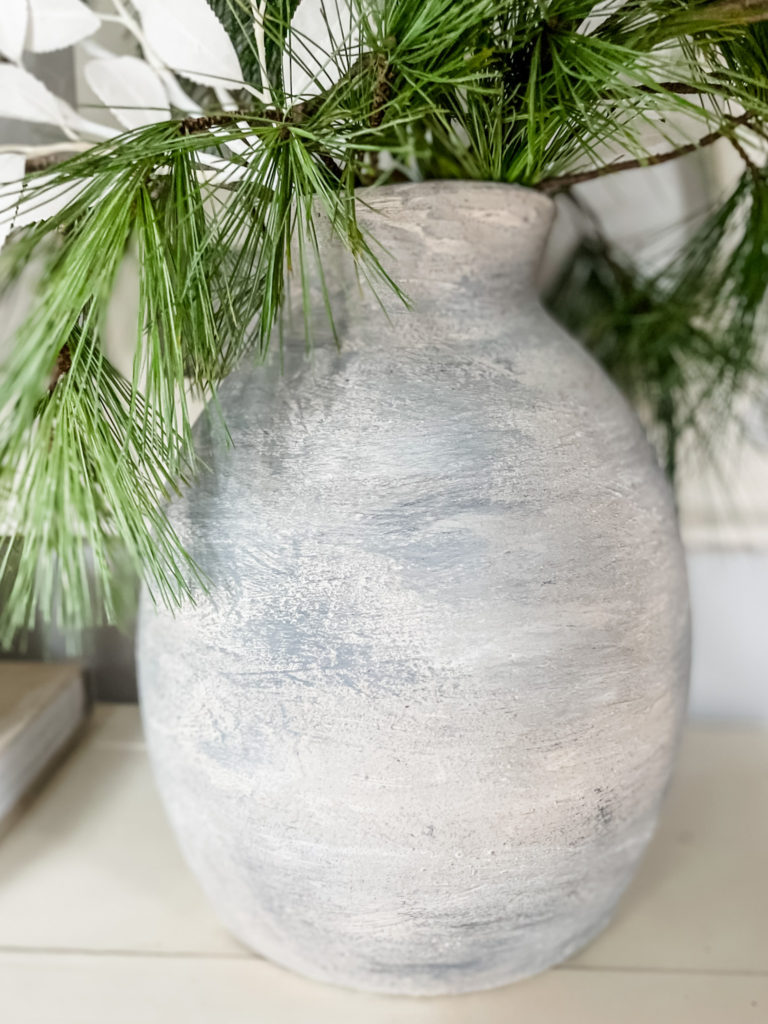
Just for fun, can we go back to where we started?
Eat your heart out Pottery Barn. Just sayin. 🙂
As I have continued to tinker and decorate over the last week, I added two white faux floral stems from Afloral.
I am loving the simplicity and color contrast right now.
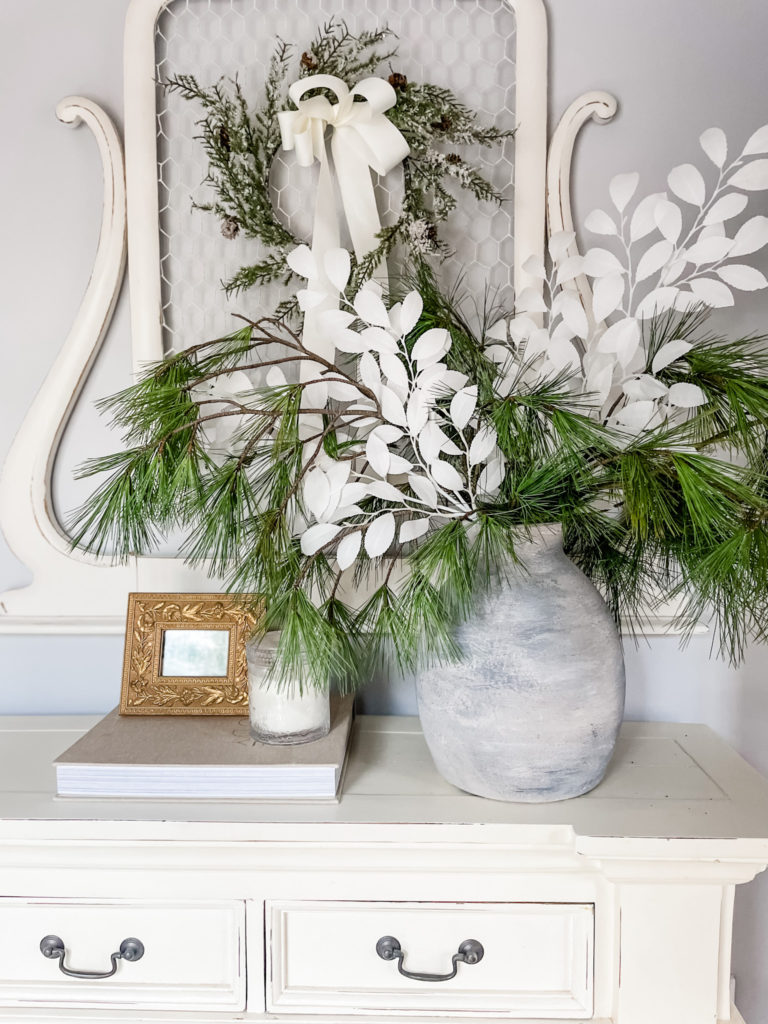
Nothing too fancy.
Nothing too forced.
Friend, if you are about to unbox your holiday decor storage bins over this long weekend…
I pray you will allow yourself the runway to also unpack the gift of delight in the process when you opt to put pressure to be perfect in it’s place.
Thankful for you friend.
I am so very, very thankful for YOU.
Dear Lord,
Thank You for being my source of freedom.
Thank You for Your promise, that when we choose to seek You, we will find You.
Please show us all that You are near and create a deep desire in us to draw closer to you at ALL times.
Amen.
Living on a prayer,
Heather
Local friends!
A few spots are still available for my first ever Home with Heather DIY workshop happening this Tuesday night at Aroma Candle Studio on Main Street in Bel Air!
I would love to see your smiling face!!
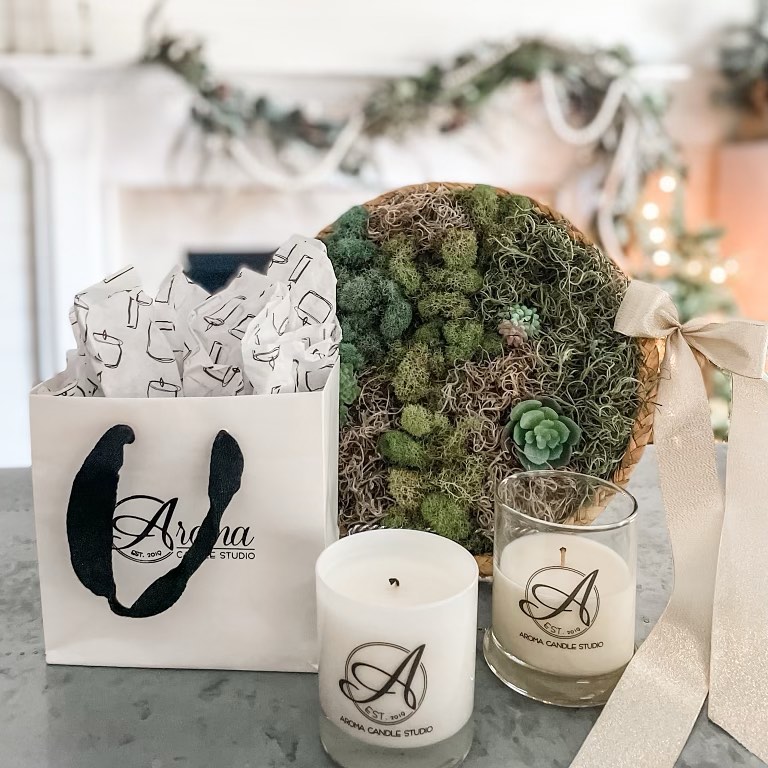
About the Event
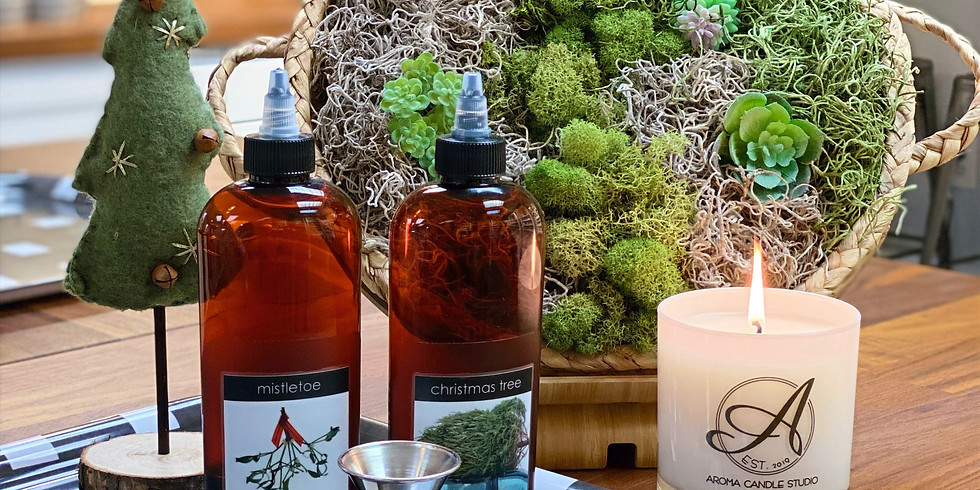
We’re hosting a fun holiday DIY girl’s night featuring the very talented Heather Krout, owner of Home With Heather Interior Styling. Heather will lead us through the process of transforming a simple hanging wall basket into a moss masterpiece. Enjoy Heather’s quick tips for creating holiday magic in your home as you work on your project!
Everyone will also create a custom signature scented 11 oz soy candle. For this event our selection of over 80 unique fragrances will include our winter and holiday scents which means the combinations are endless for making a festive fragrance for your home. Our Scent Consultants will guide you and help make the evening #aSCENTsationalexperience!
Grab your Spot for the Moss Basket & Candle Making Workshop on Tuesday night, 11/30 HERE!
PS:
In case you missed last week’s post.
Here is my Gift Guide for the Teen & Pre-Teen Girls in your life!
You can shop the post and products here.


I just LOVE the masterpiece you created! That vase is just beautiful now….the before and after pictures are truly inspiring. I look forward every week to reading your blog, your really are an inspiration.
Can’t wait for the Moss Basket & Candle Making workshop on November 30th!
Thank you!! And thank YOU for all of your help in creating the “moss-terpieces” 🙂