
Once upon a time in a pre-covid land we dreamed of a glorious kitchen remodel…one where hooded ranges sparkled, new appliances shined and a team of contractors came inside to do the heavy lifting, building and constructing.
And then?
We woke up to the fact that we could work with what already have to get the dream kitchen we loved and the parts we didn’t love?
Well, we could do the renovation ourselves.
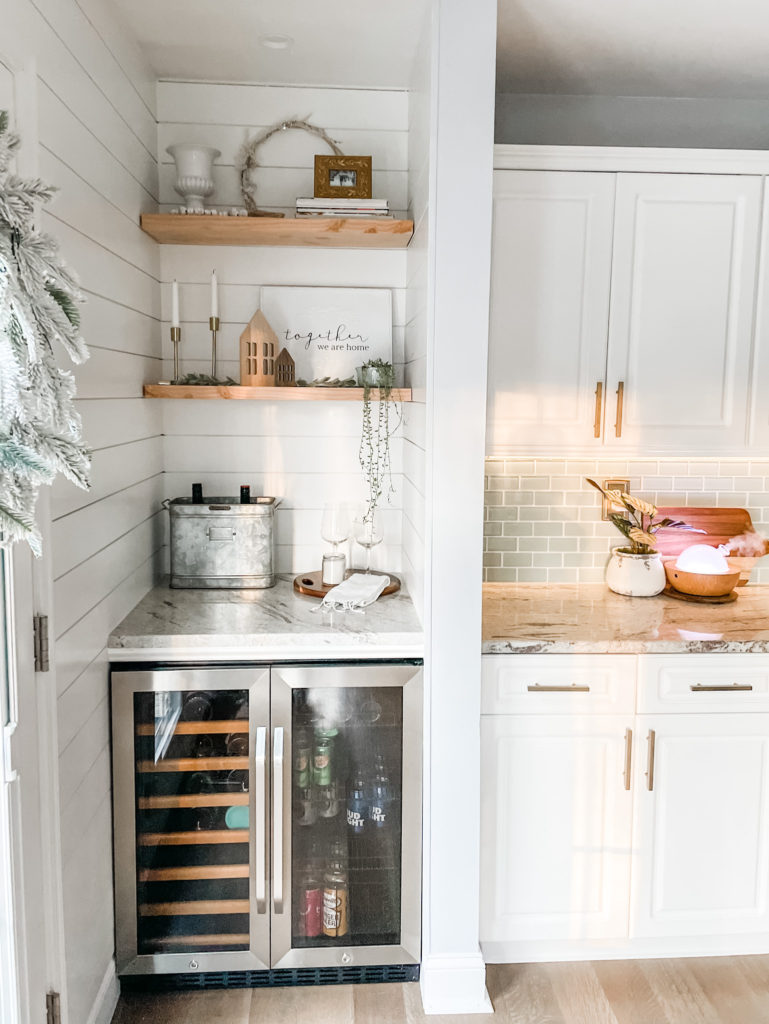
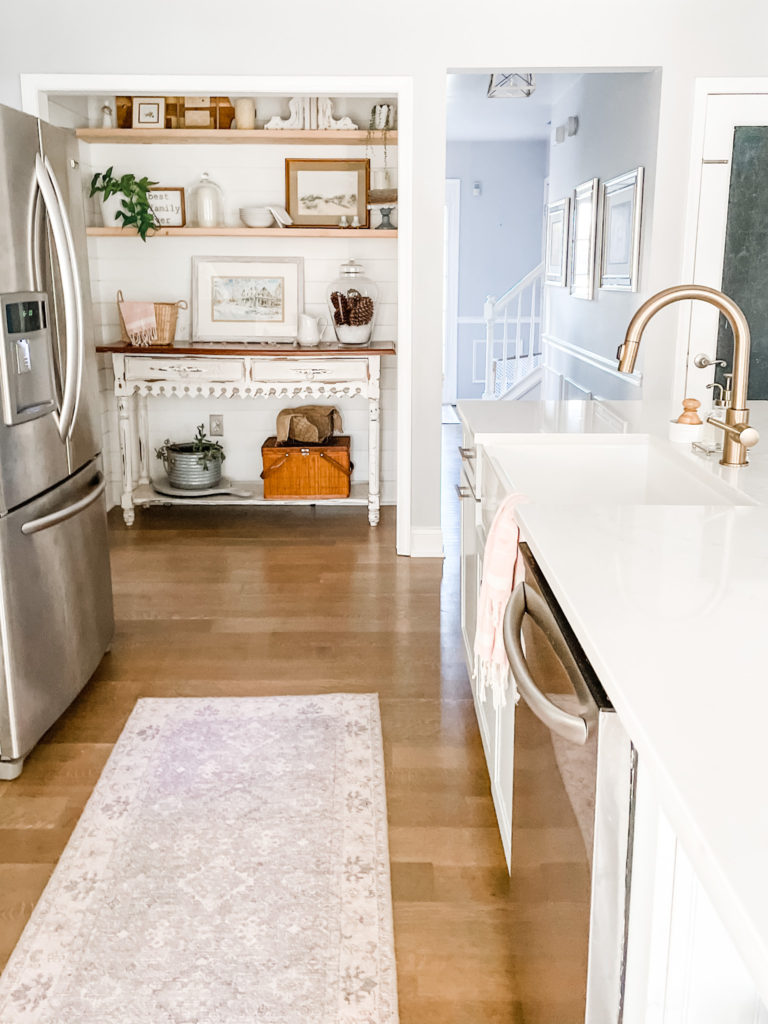
And friends….the time has come to hang the floating shelves, plug in the new beverage refrigerator (aka wine fridge) and do a happy dance around the new kitchen island, because this kitchen renovation is completely and finally DONESIES!
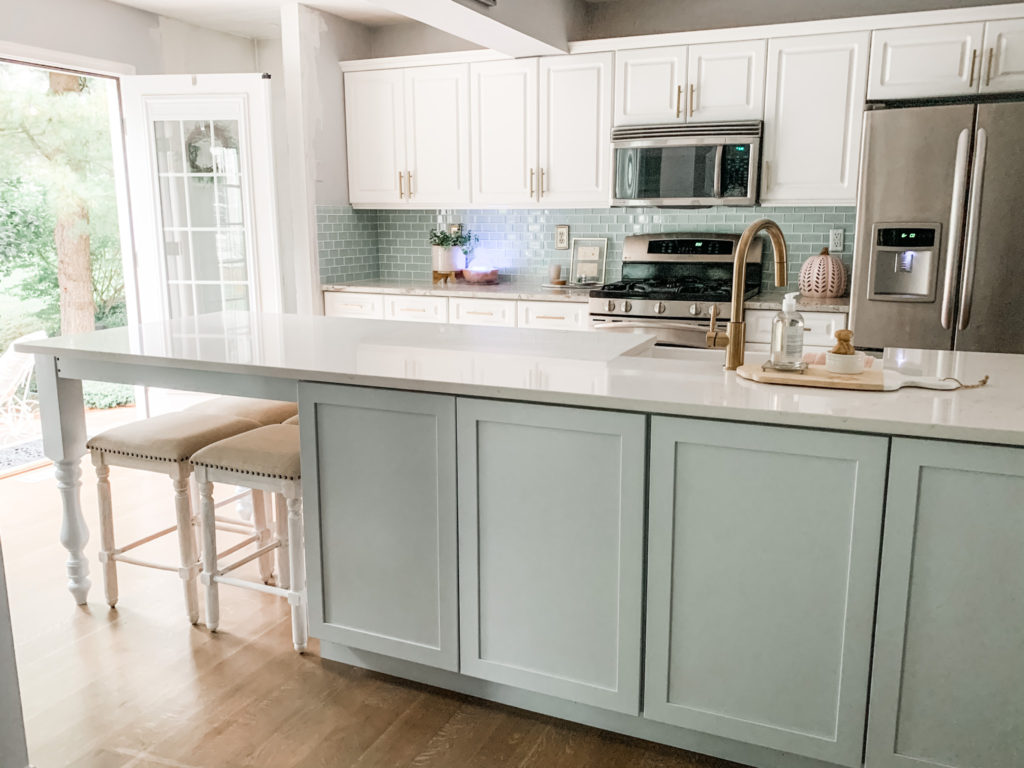
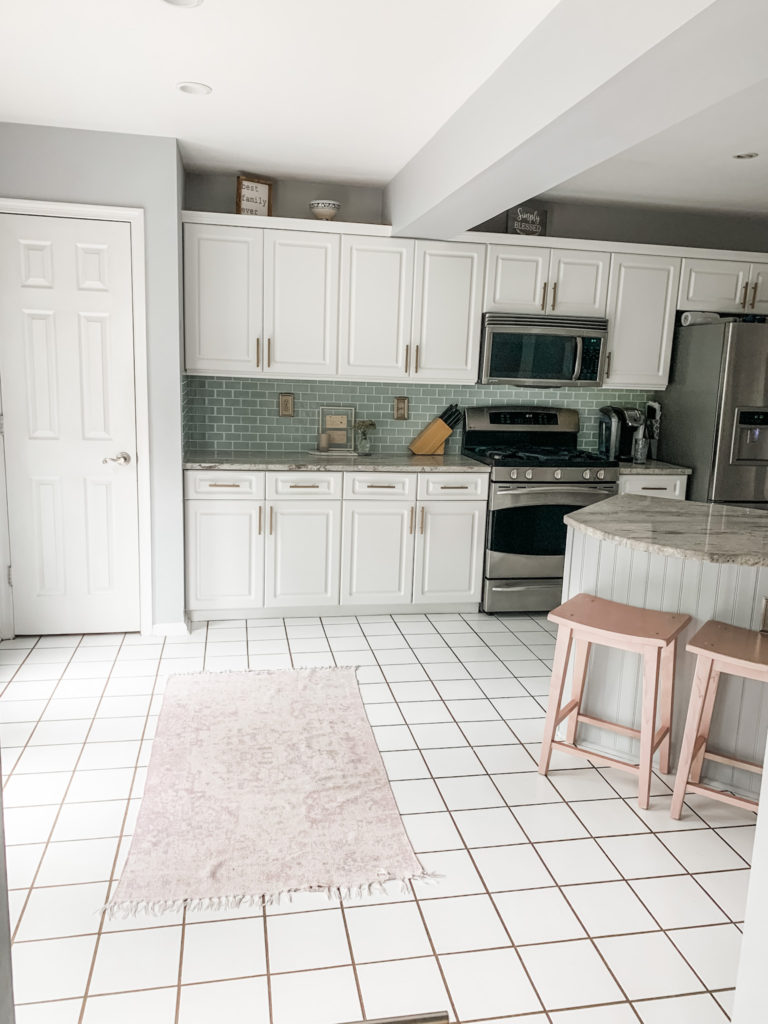
Before we jump to the end where we install and hang the DIY floating shelves and save ourselves HUNDREDS of dollars…let’s remember where we started in 2008 when I snapped this photo AFTER we had purchased these bright and shiny new appliances.
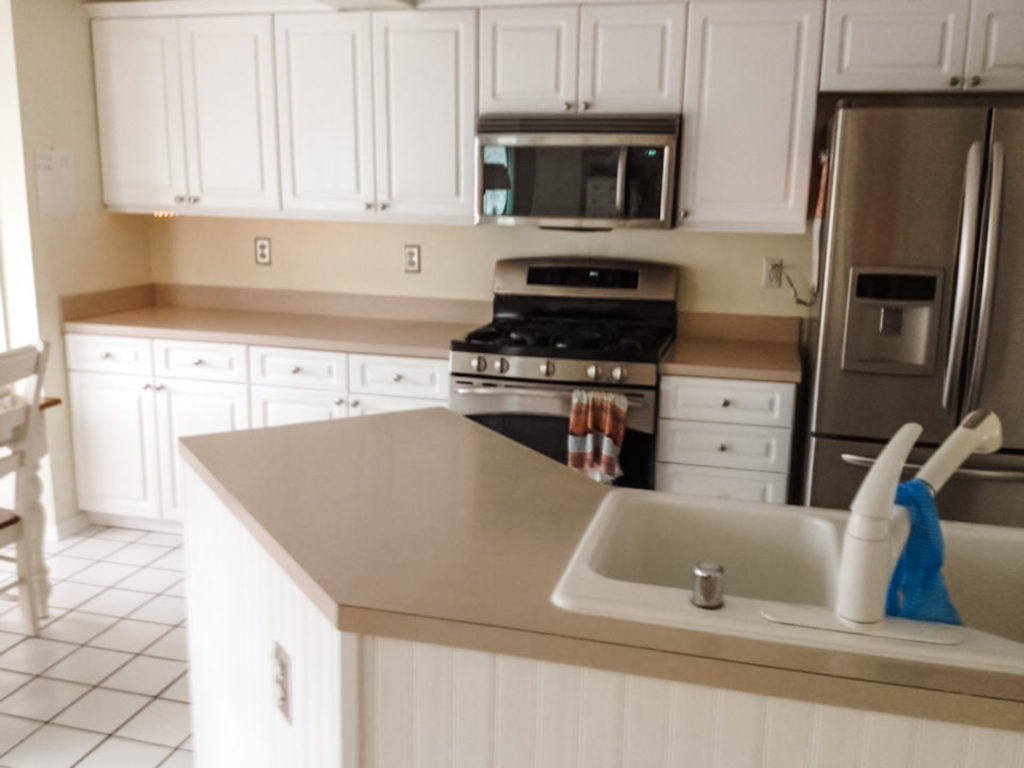
Yep…those are the same appliances and original cabinets hanging on the back counter wall. All spiffied up with new champagne bronze cabinetry hardware you can find here.
Let’s take a brief walk down kitchen memory lane shall we?
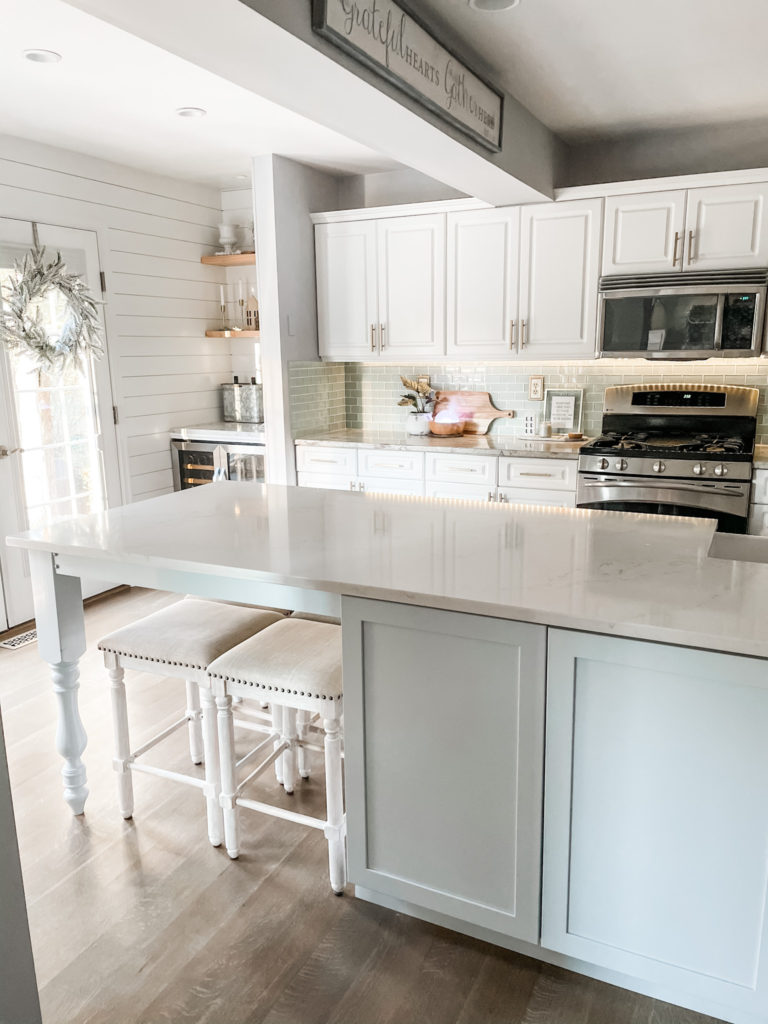
In 2010, we updated the kitchen by replacing the countertop and installing this backsplash of “Arctic Ice” ceramic glass subway tile.
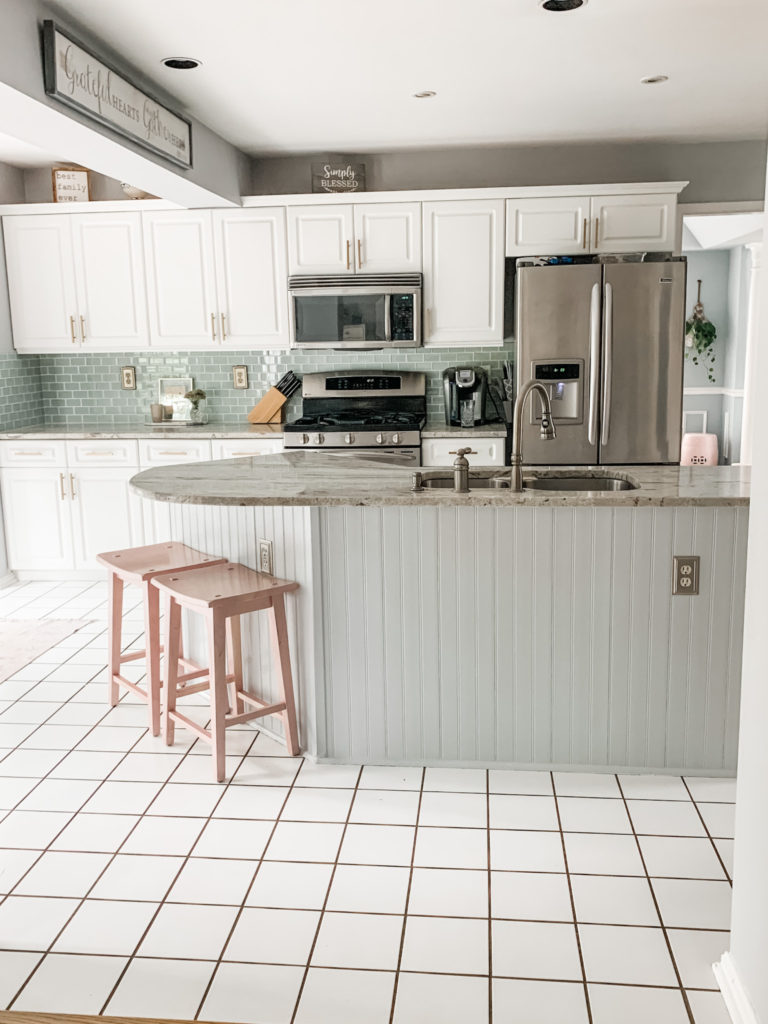
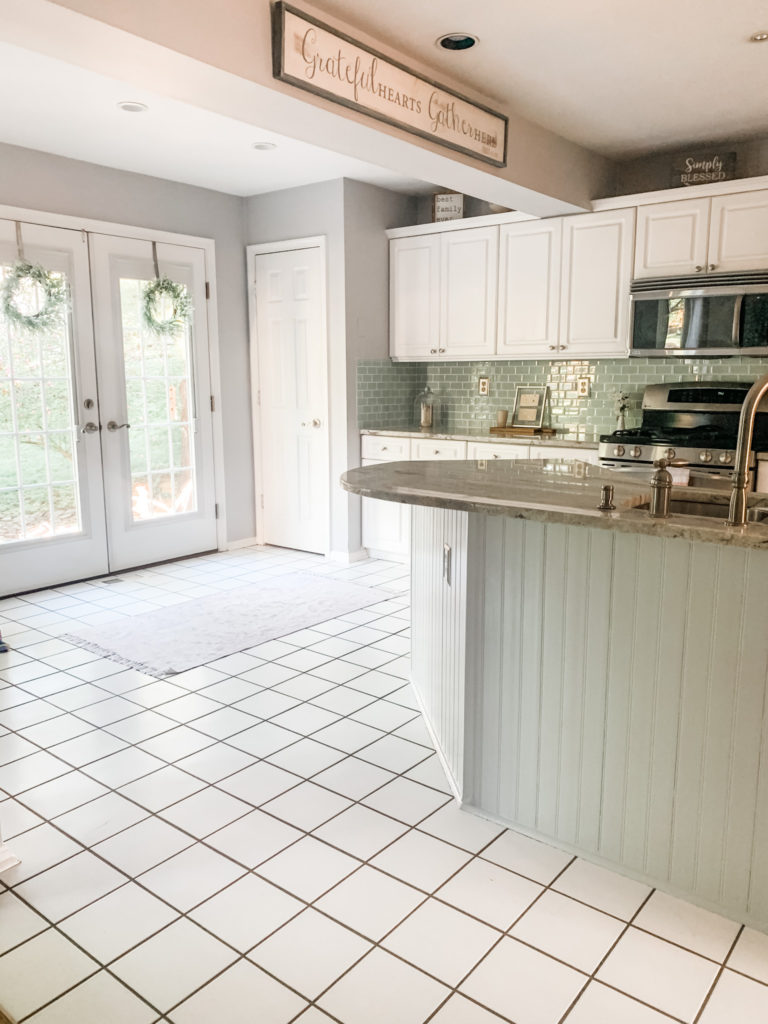
We added the round edge on the island to provide seating and later decided to paint the white island a blue-grey color by Sherwin Williams called “Gray Screen” as a test to determine if we would really like a blue-gray island.
Turns out we LOVED this paint color on the island so much we and decided to re-paint our white bathroom cabinets with it also. You can see the full master bathroom DIY makeover in this blog post.
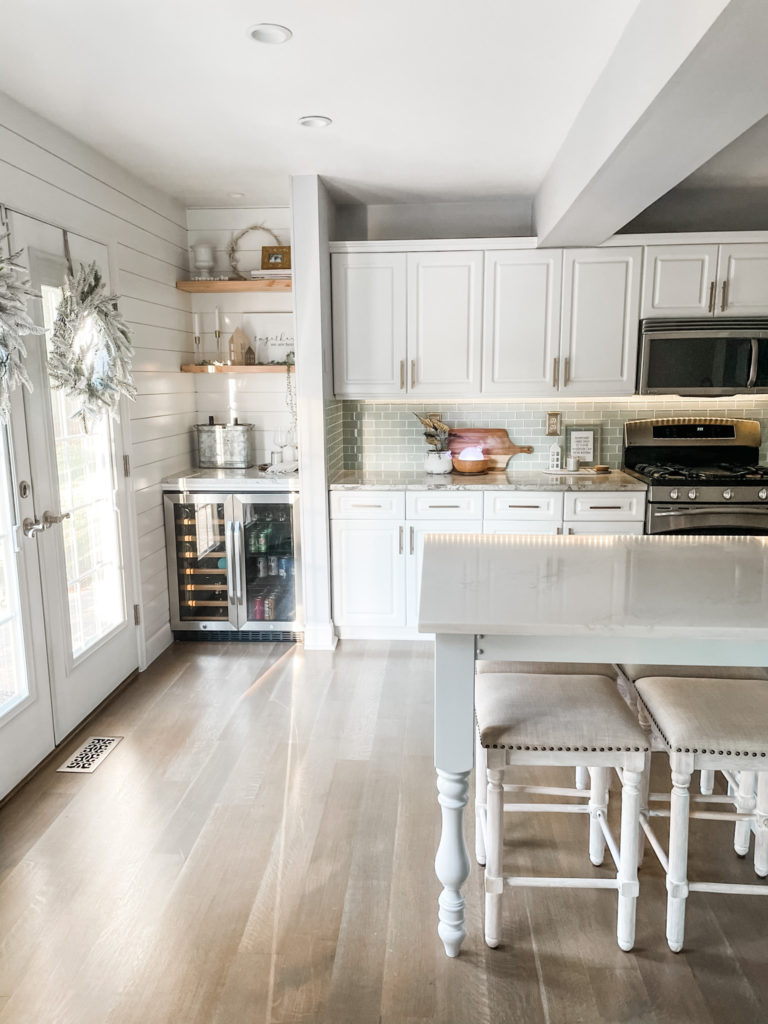
In 2013, (i think) we decided to convert the double window behind the kitchen table into French doors that would open up to our patio.
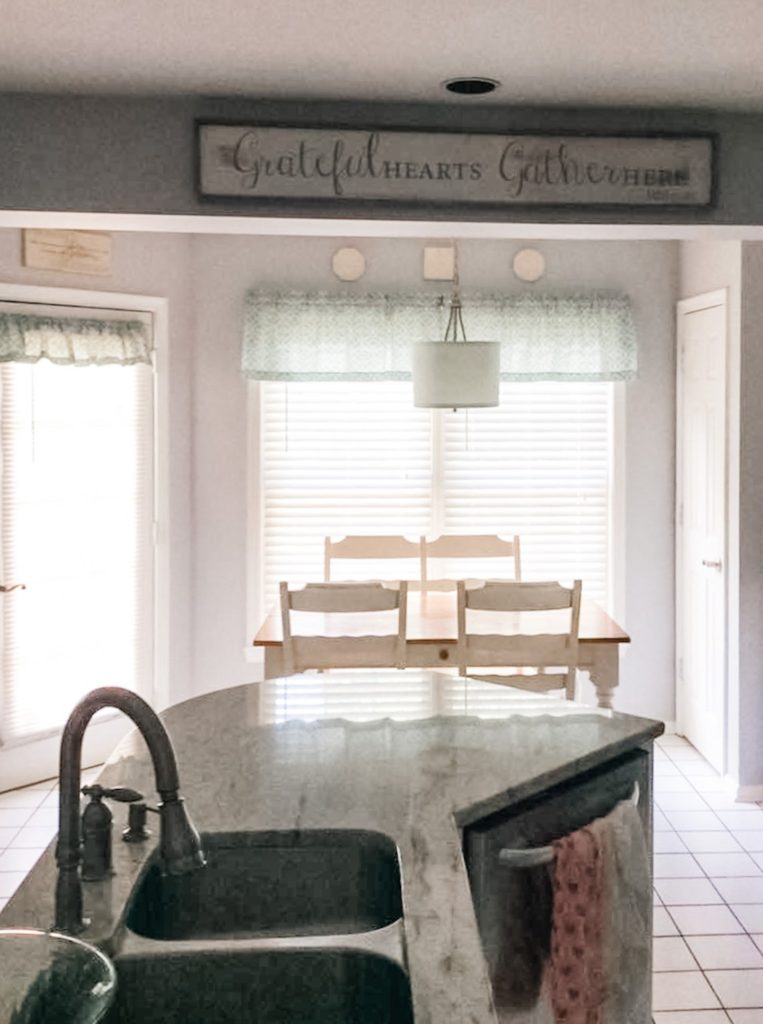
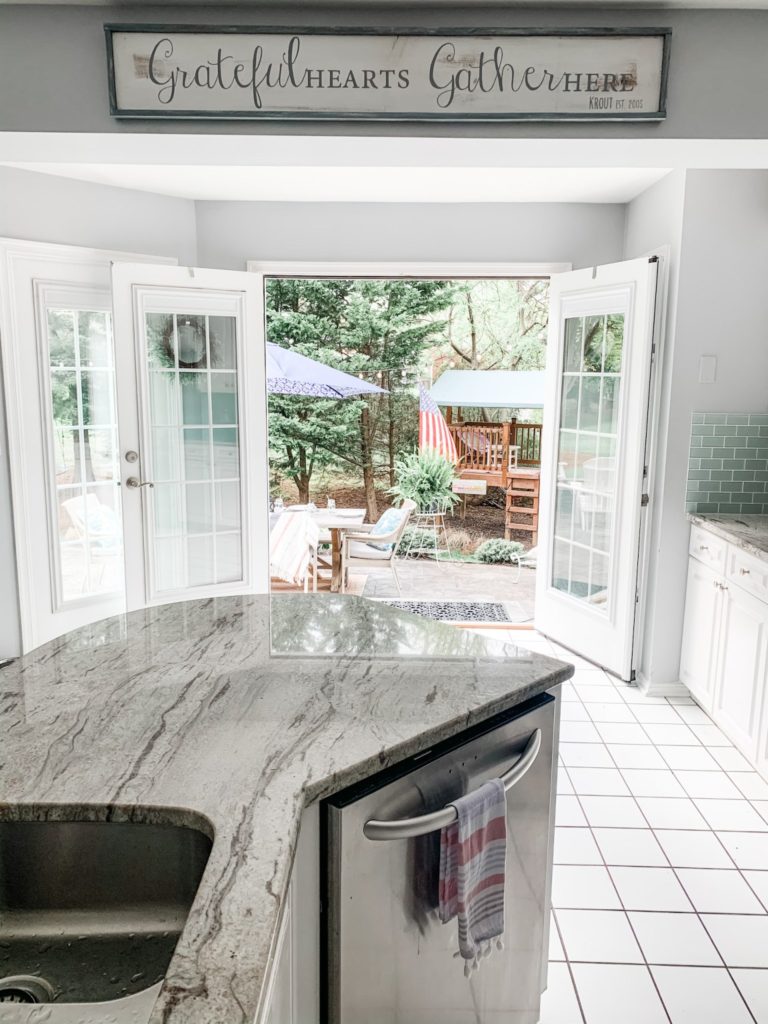
You can see the pantry closet door next to the French doors that we demolished and converted into a beverage center in the picture below.
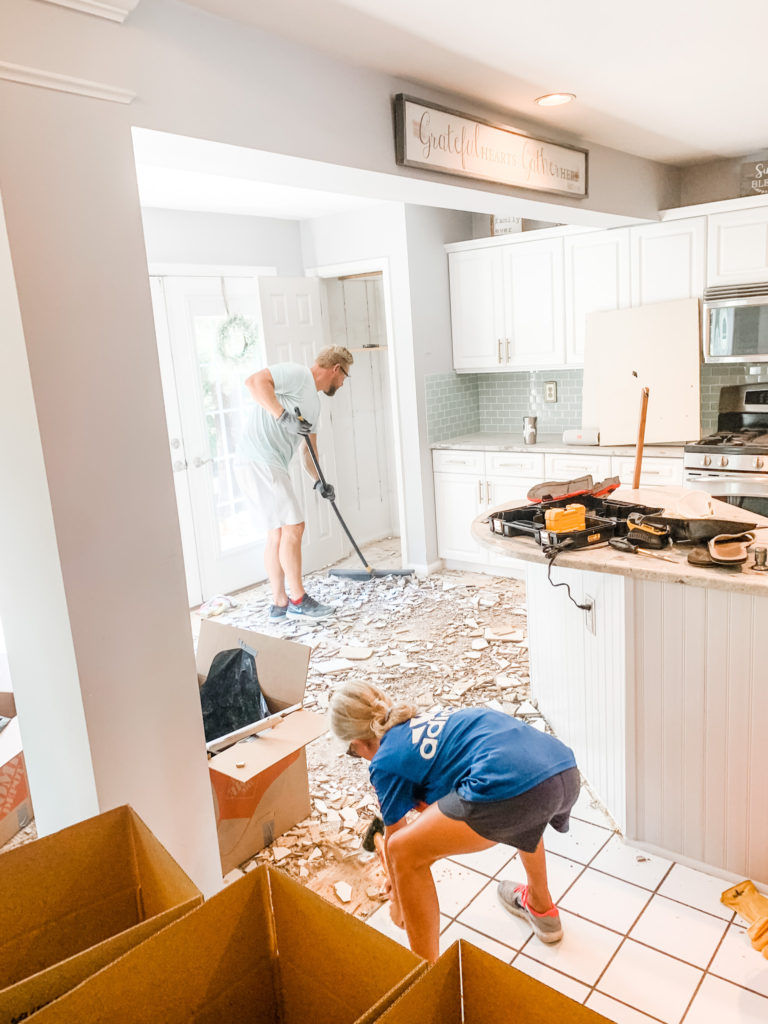
And then, in 2020 came the BIG decision, wrapped up in A LOT of prayer to bite the bullet and do our own big DIY kitchen renovation.
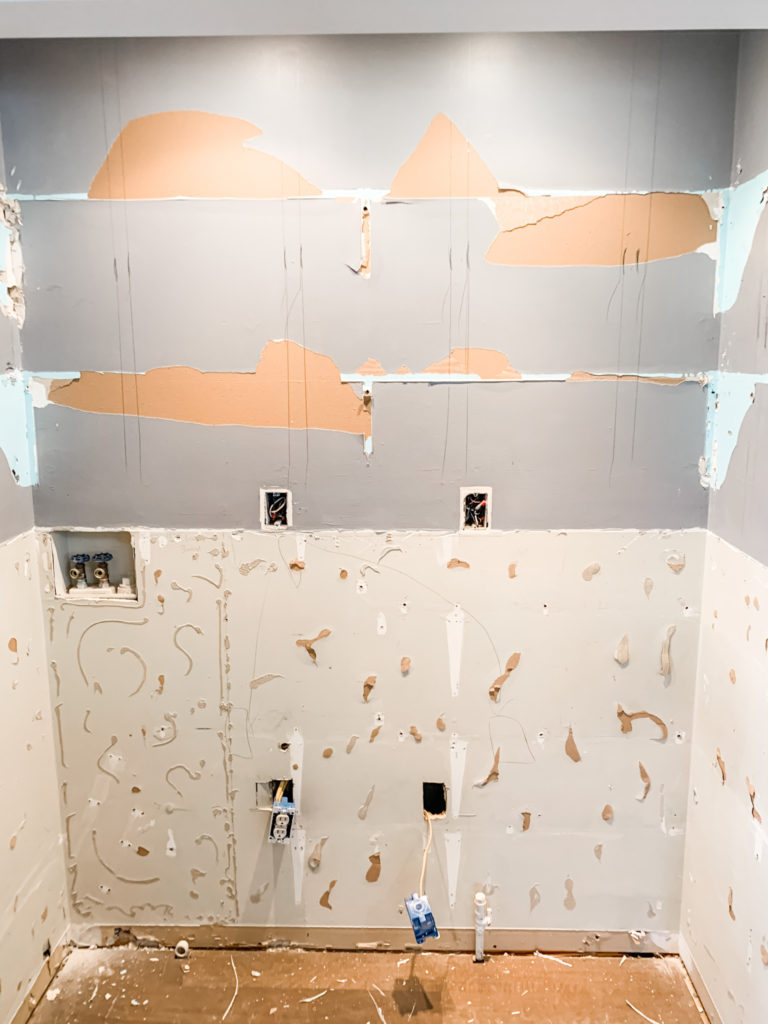
And, on one Summer weekend we declared it was “Demo Day!”
You can see and read more about our full kitchen renovation in this blog post, with all the kitchen island details and sources and many more before and after pictures.
Let’s just say…
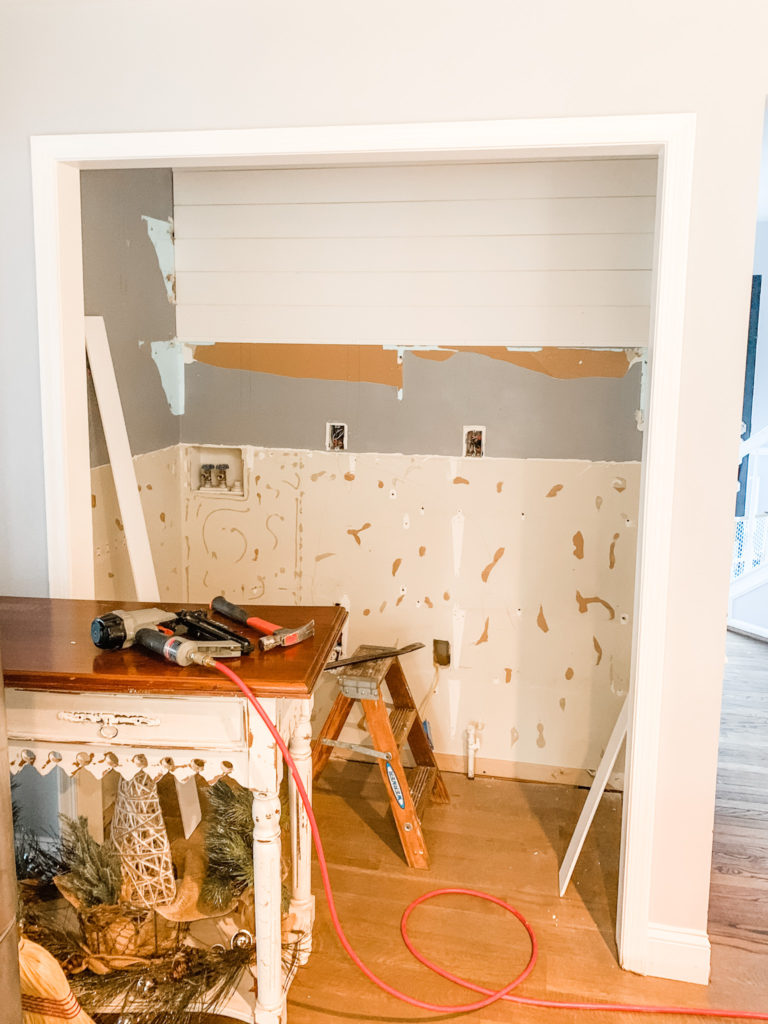
This pantry situation was out of control, if you can even call it a pantry.
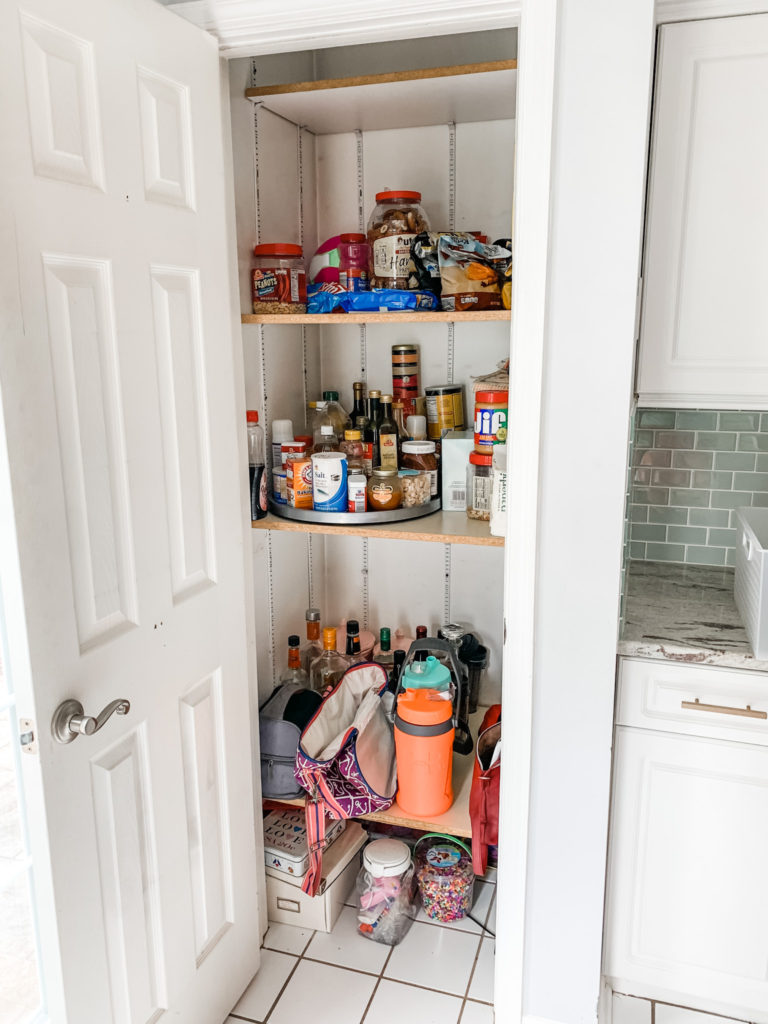
When we moved in, it had a few random shelves inside, which for 17 years we happily dumped all the things inside this closet. From kids crafts, to peanut butter, to sports water jugs, salt and syrup.
This closet held all of our messy secrets when company came knocking.
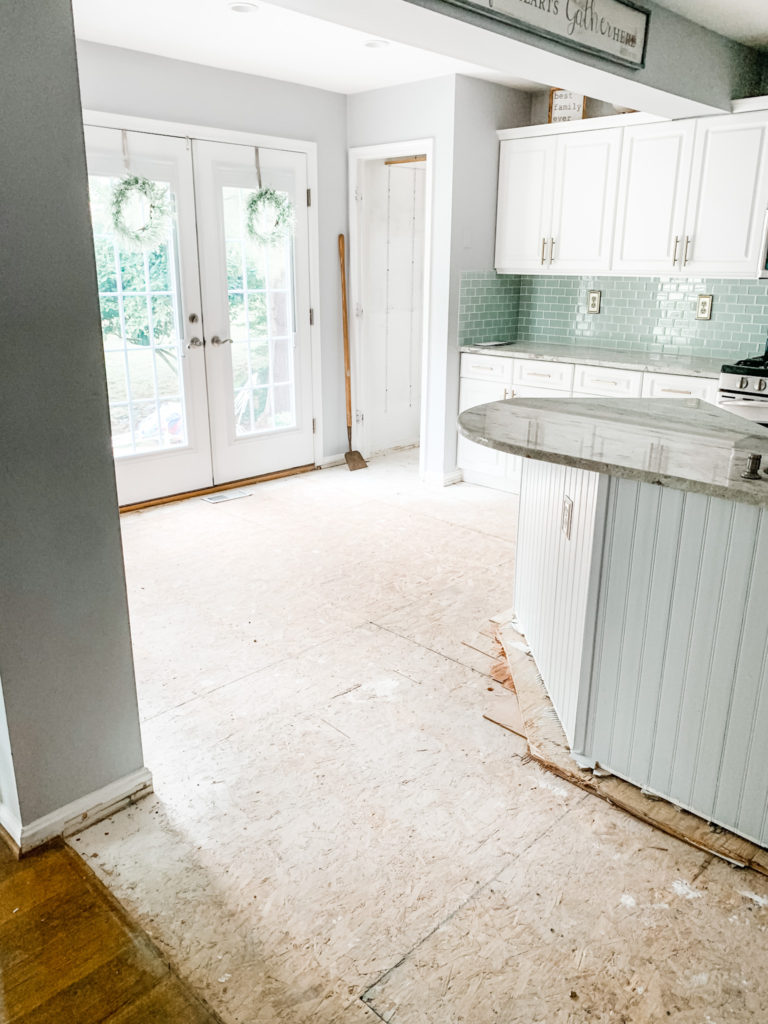
So, when we started ripping out the floor, I just knew this space had bigger potential than what it was living up to.
It screamed…I can be MORE!
I can do MORE!
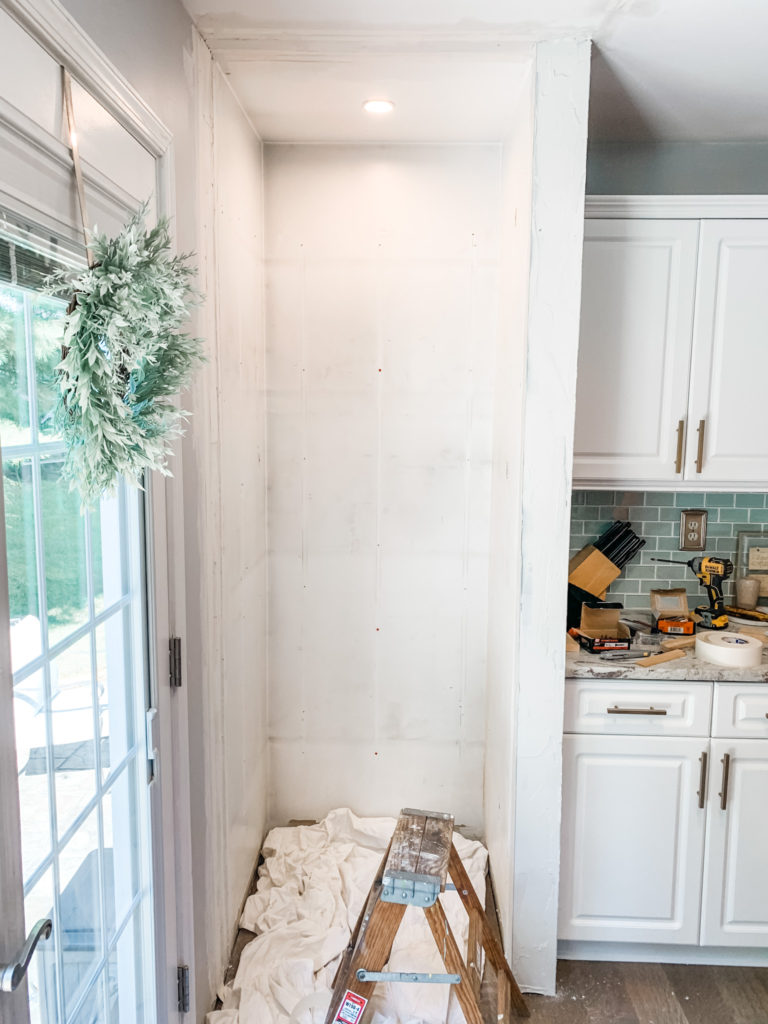
We listened to those closet cries and…
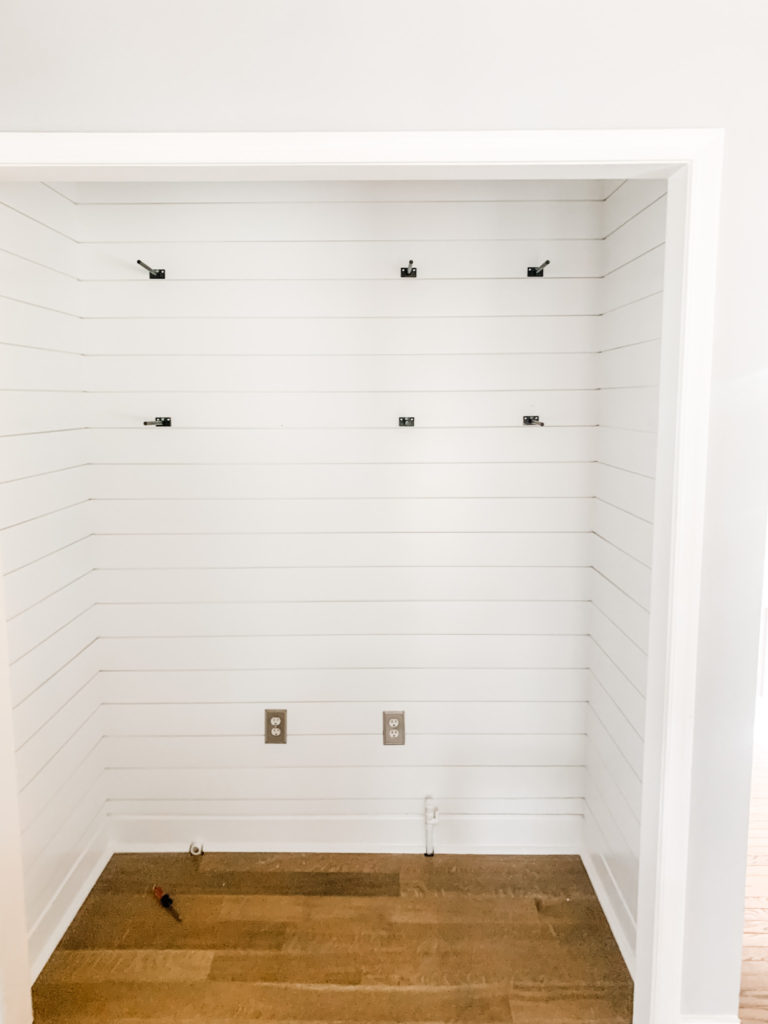
We ripped it out and gave her a light.
And today she whispers “thank you” every time I walk past her and wink…and maybe wonder if it really is five o’clock somewhere.
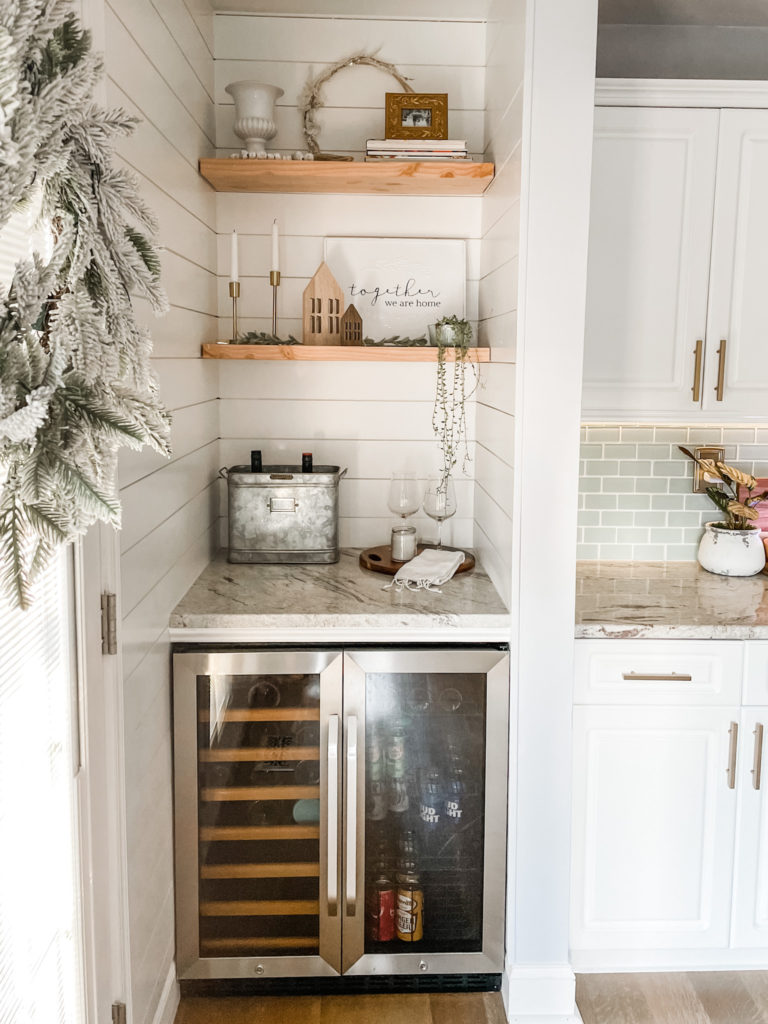
While we were demolishing the old kitchen island (pictured below) that matches the back run of countertop, we decided to save and salvage the granite slab and hire a company for a small fee to cut the old granite and install a piece of it to serve as new countertop space above the beverage refrigerator.
And today?
This girl is ready for a “house-party.”
A house-party…post-Covid of course.
Needless to say we are looking forward to the days when we can have a “house party” and invite a few friends over to toast to the completion of this DIY kitchen renovation that has been a long journey but oh so thankful we stayed the patient course.
For those in the market for a beverage, wine refrigerator I spent a good amount of time researching and shopping both local small business retailers and online. Eventually I decided on this refrigerator from Wayfair. (It is on sale right now) It was the size we needed to fill the space and I love the look of the oak shelves..plus it has lockable doors with keys. Bonus.
Now about those floating shelves…
We installed them in two different areas in our kitchen.
When I was pricing out floating shelves I could not believe the prices staring back at me when I would select my desired quantity, size and stain. The price points and the fact that we needed a specific and exact length led us down the path of…
building our own open shelves for UNDER $40.
Yes that is correct…these shelves were less than $40 to build.
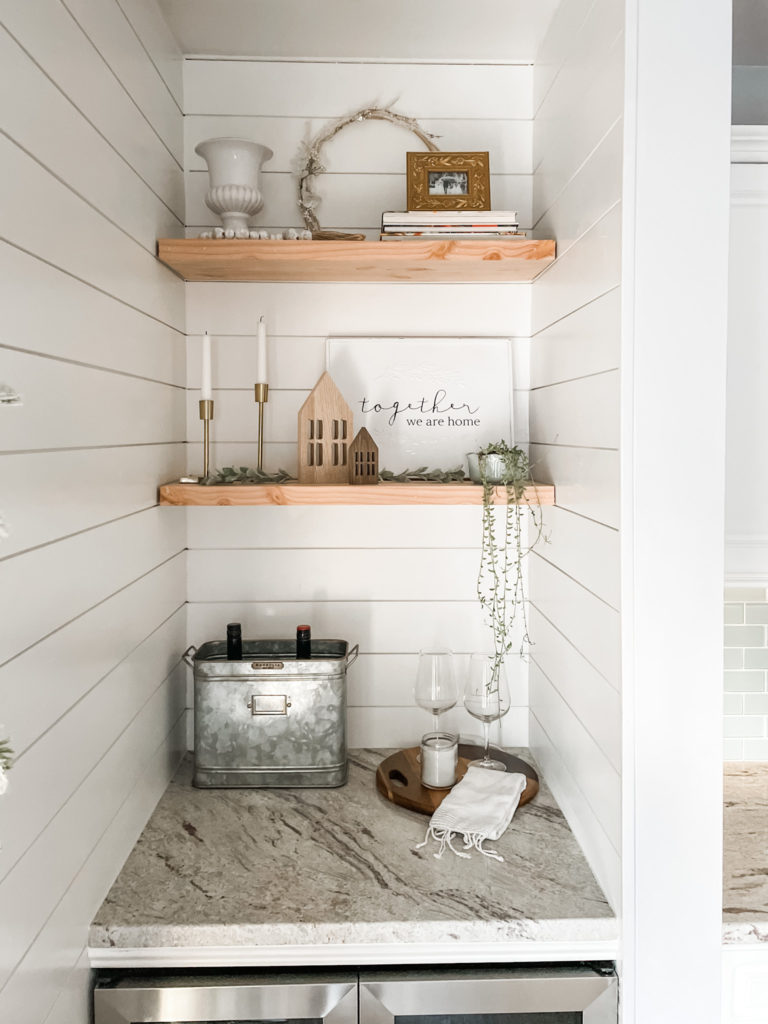
We bought pine lumber from Home Depot, similar to this.
We ordered this set of brackets for $20 from Amazon.
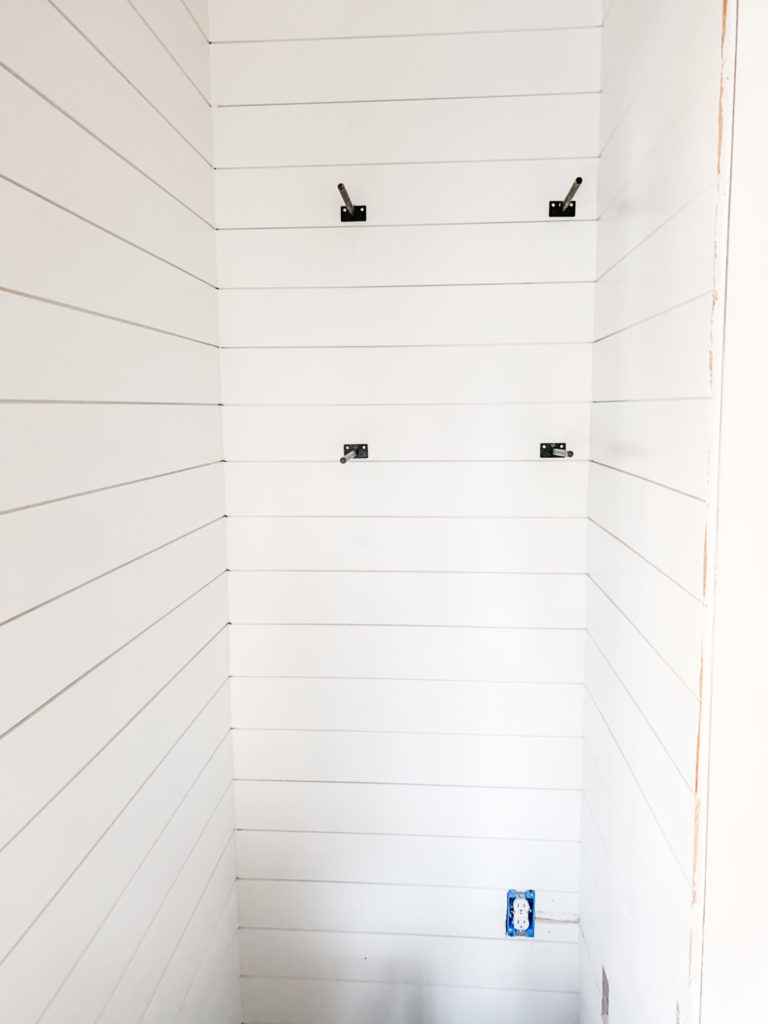
According to my handy husband, the first step to installing the brackets is to find the studs in the wall. The brackets need to be installed into a stud.
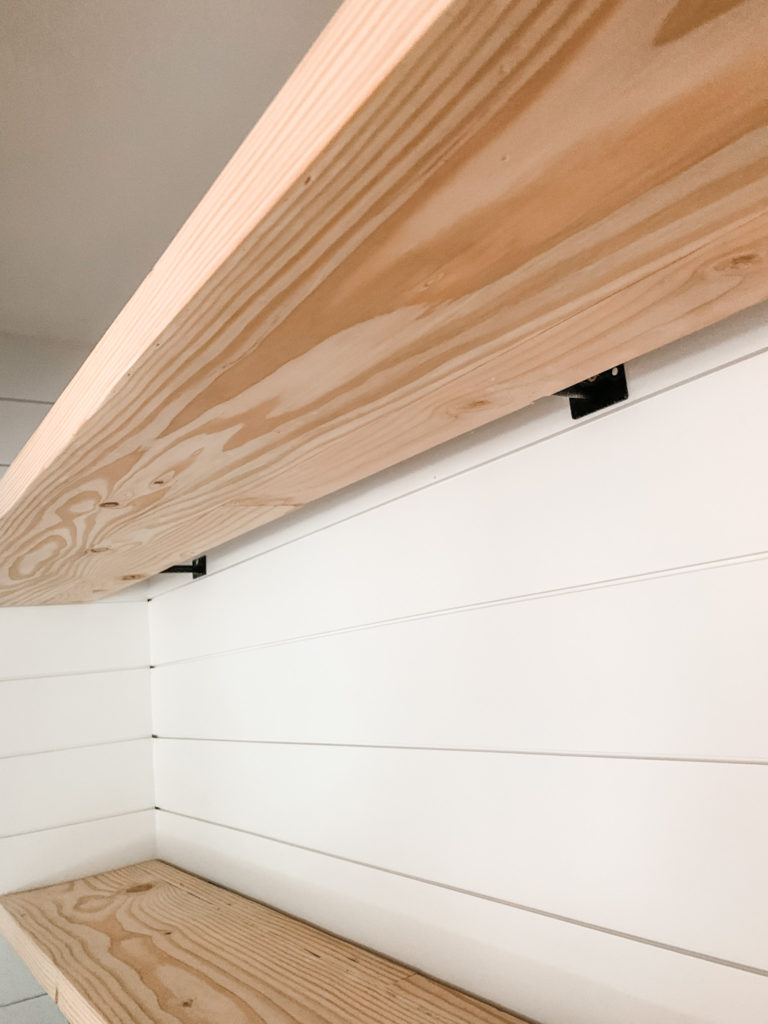
Then, you will need to mark where you need to drill your holes on the shelf.
This is the drill bit he recommends using to drill the holes into the shelf to fit onto the brackets. It is a 1/2″ bit that is 8″ long.
(Aside, Home Depot did not have 10″ wide lumber at the time we were ready to install, and we did not want to spend time with special ordering, so we improvised by adding two extra inches onto the back of a 8″ shelf by sawing and nailing in two extra inches onto the back of the shelf to create a 10″ deep shelf)
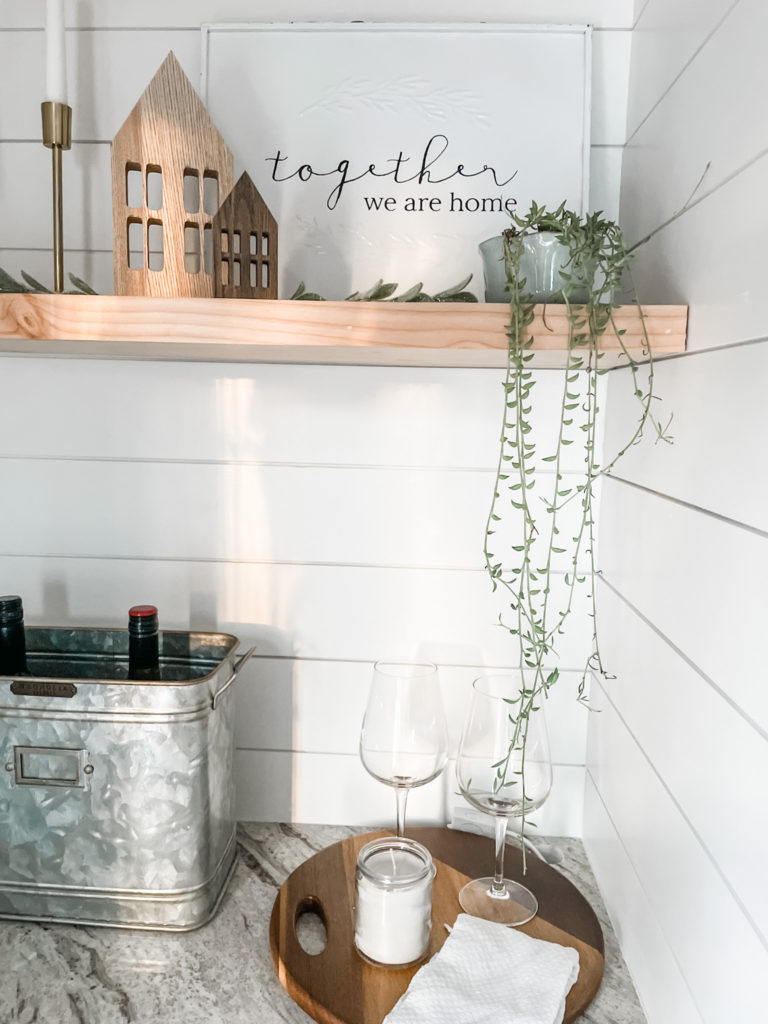
Our shelves are 10″ deep, 2″ thick and 29 3/4″ long.
We spaced the shelves 17″ apart from each other.
The open space between the walls we were spanning across is 30′. However, when we cut the lumber into shelves, we left a teeny bit of wiggle room on each end to be able to slide the shelves, between the walls and onto the brackets.
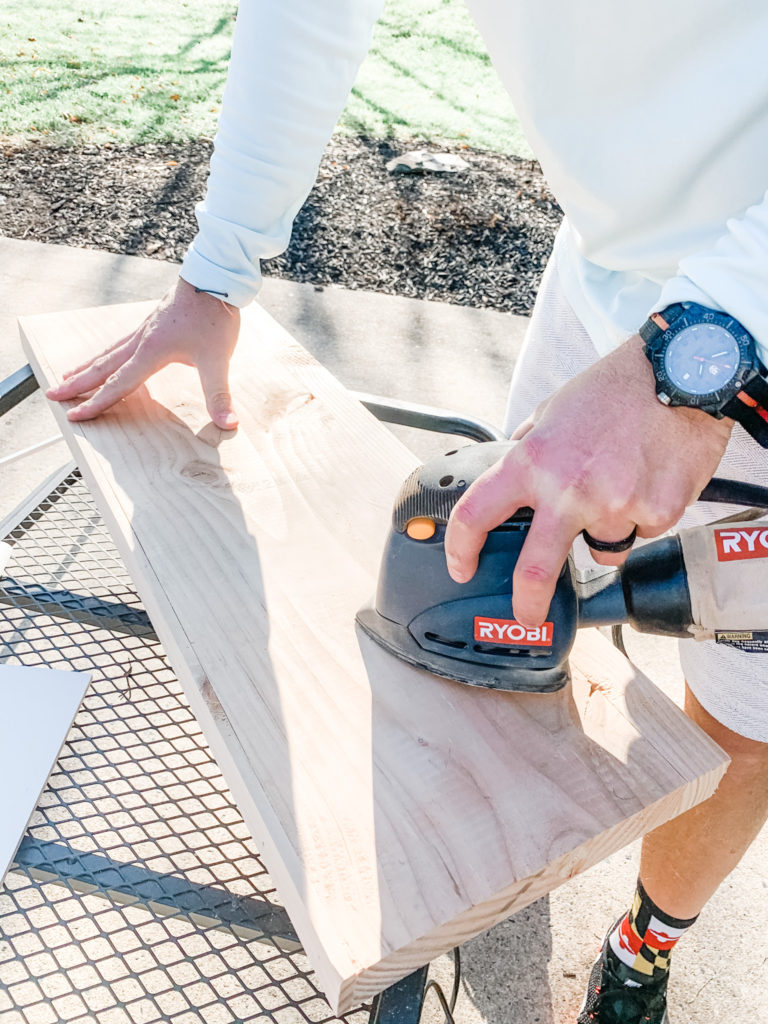
Shawn used a hand sander with 250 grit to sand all sides of the shelves before installing. We also gave the shelves a coat of poly. However, I regretted that decision which resulted in re-sanding (whoopsie) and we have ultimately decided we like the all-natural look of the shelves without any stain at all.
Hooray for one less step!

Have you every noticed how projects lead to more projects?
Well, this little floating shelf project whispered to the other previously converted pantry across the kitchen and started showing off her top shelf self.
Not to be outdone…this old pantry demanded she get a new set of shelves too.
And while we were at it…a little shiplap of course.
Now this space has seen it’s own fair share of transformations.
Want to see?
Oh good.
Like most things do…this pantry started off in diapers.
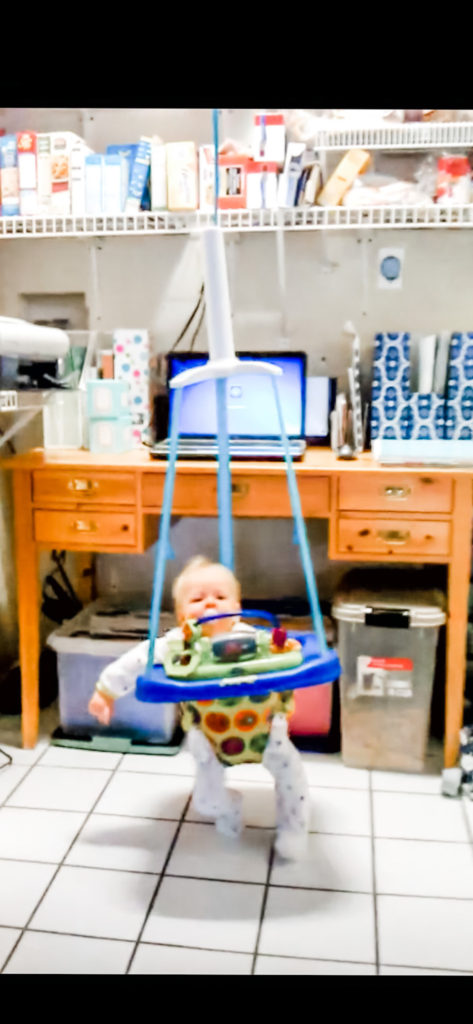
I mean doesn’t everyone have a space where a jumping baby, home office desk, work files, dog food, spaghetti and printer all snuggle together into one happy hot mess?
And then…there were more diapers.
Less, spaghetti and dog food, but more diapers and a new desk that was brown and I painted white and replaced the knobs on.
Oh this space has seen it all.
Eventually, I grew tired of sitting at my desk and staring at the wall and moved my desk into the room with a bay window for a better view.
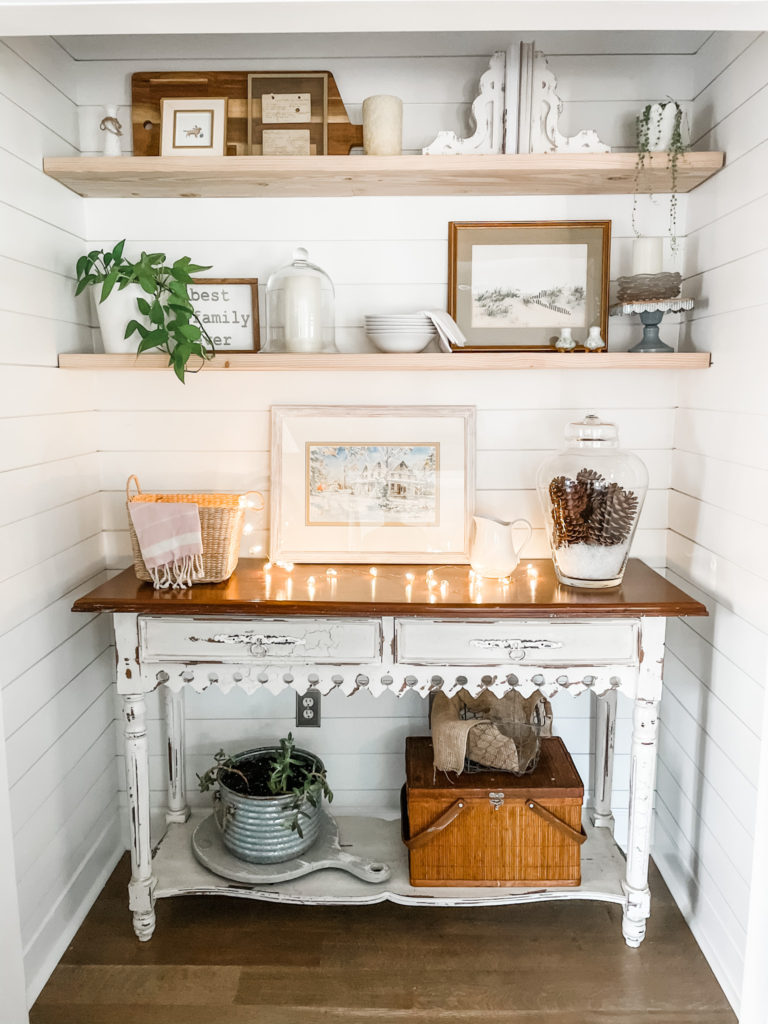
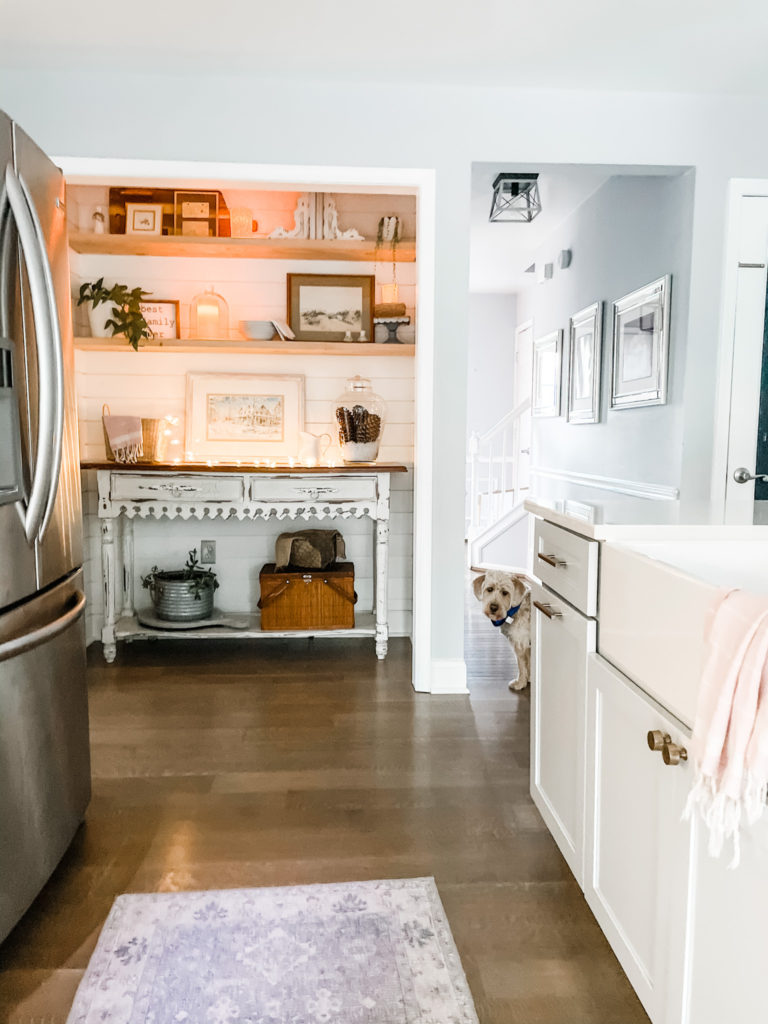
We painted over the turquoise and scored this farmhouse side table on Clearance at a local furniture consignment shop to transform this area into a little cozy nook for showing off “pretty things” while serving as a beverage station while entertaining.
But…she was jealous of all the shiplap and floating shelf business happening across the kitchen so we gave her a makeover too.
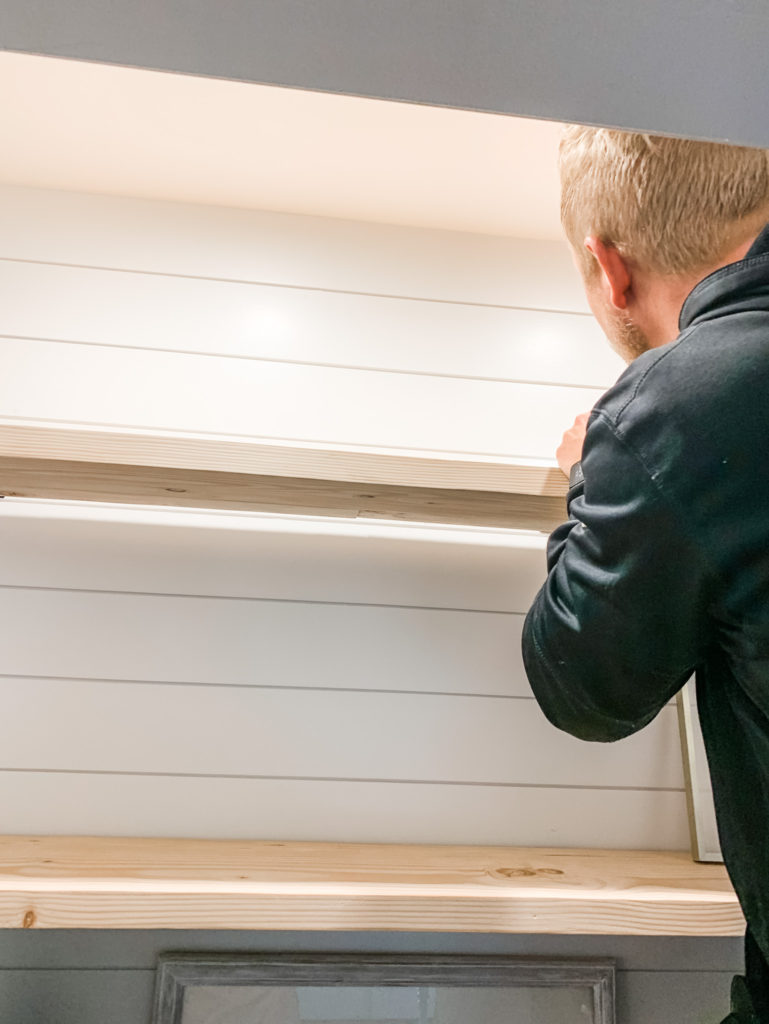
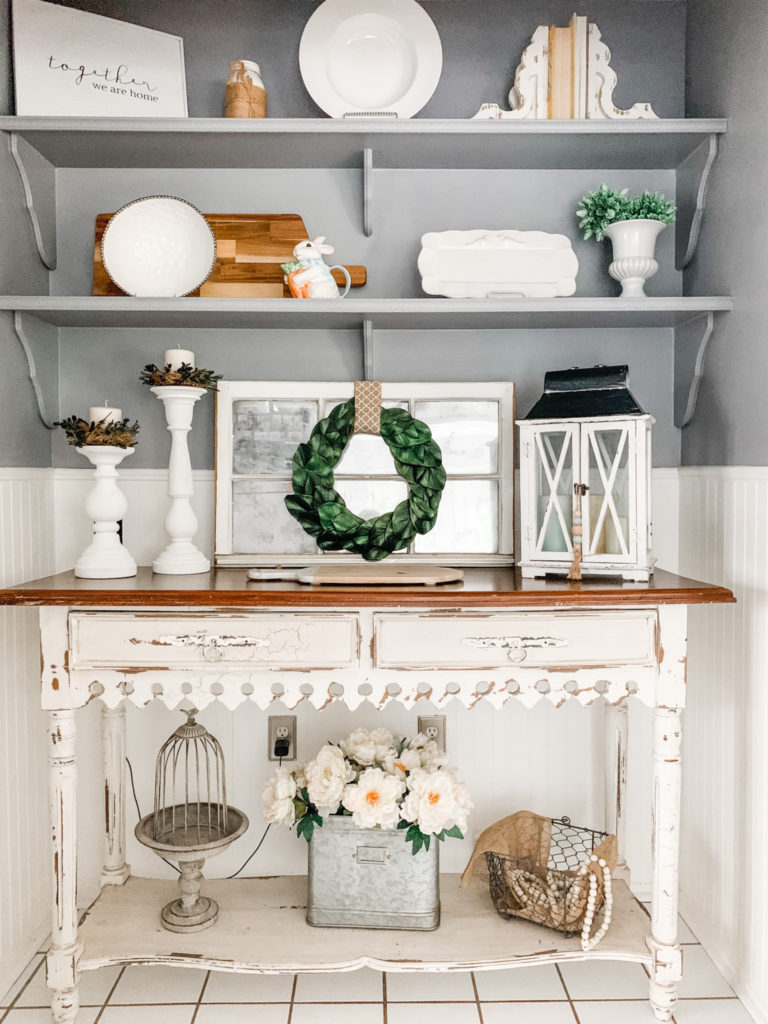
And now she looks like this.
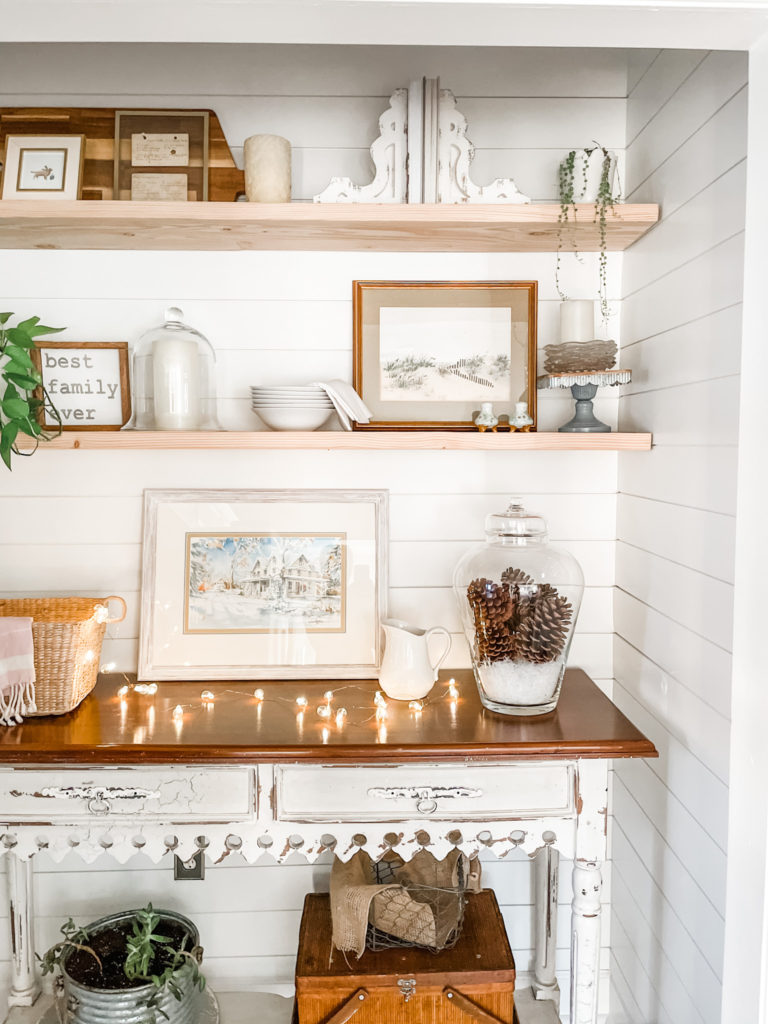
This set of floating shelves are 5 1/2 feet long.
We kept the other measurements the same as the other set of shelves. They are 10″ deep and 2″ thick and spaced 17 inches apart from each other. We used three brackets for each shelf, whereas the previous set only required two brackets per shelf.
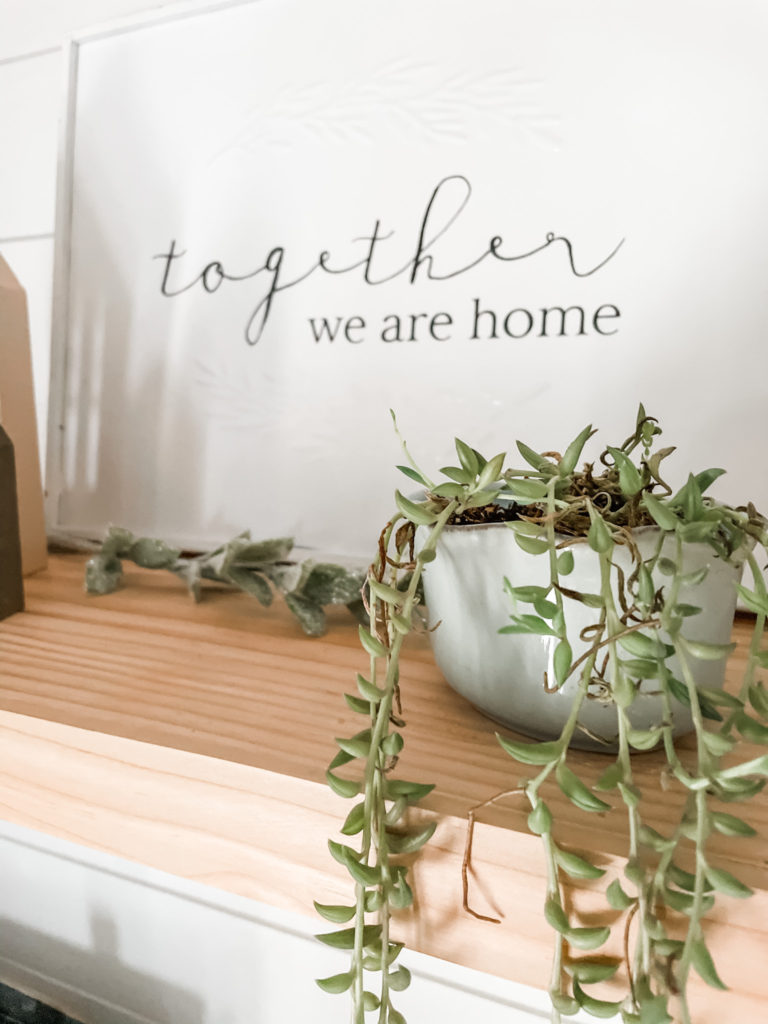
I like to mix old with the new when it comes to styling. This space is no different…it is a “collected” space VS “decorated.”
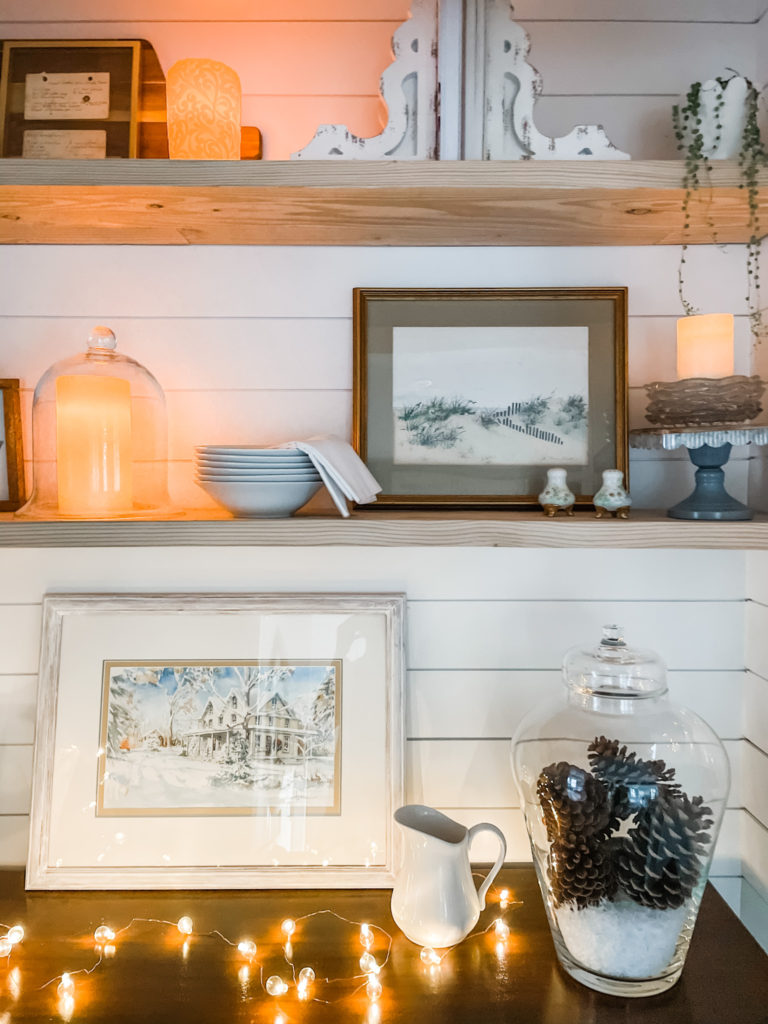
Here, I mixed in a glass Pottery Barn canister that I love to decorate seasonally. Swapping out Christmas ball ornaments for pinecones that will eventually be replaced with large seashells during the Summer. Paired next to an old pitcher and a painting of a Winter scene from my childhood farmhouse that I grew up in. I chalk painted the frame white to give it a re-fresh.
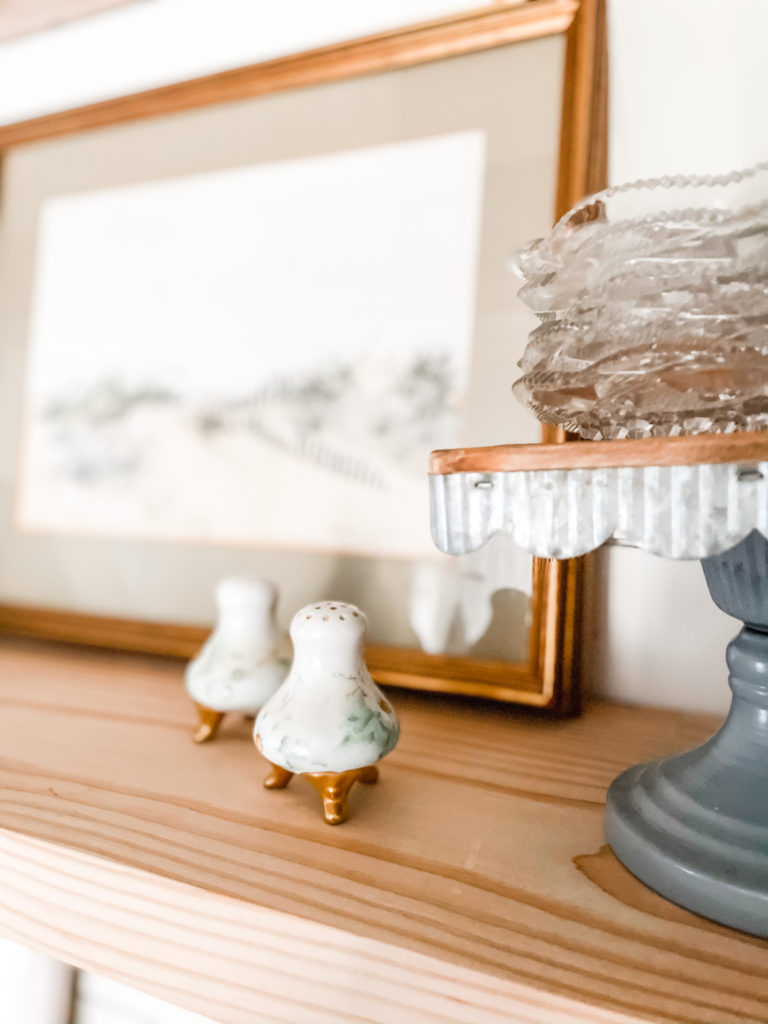
These salt and pepper shakers were hand painted by my Mom. They sit in front of a very old seaside painting, with faded matting that I have fond memories of staring at as a little girl from the sofa in our farmhouse living room.
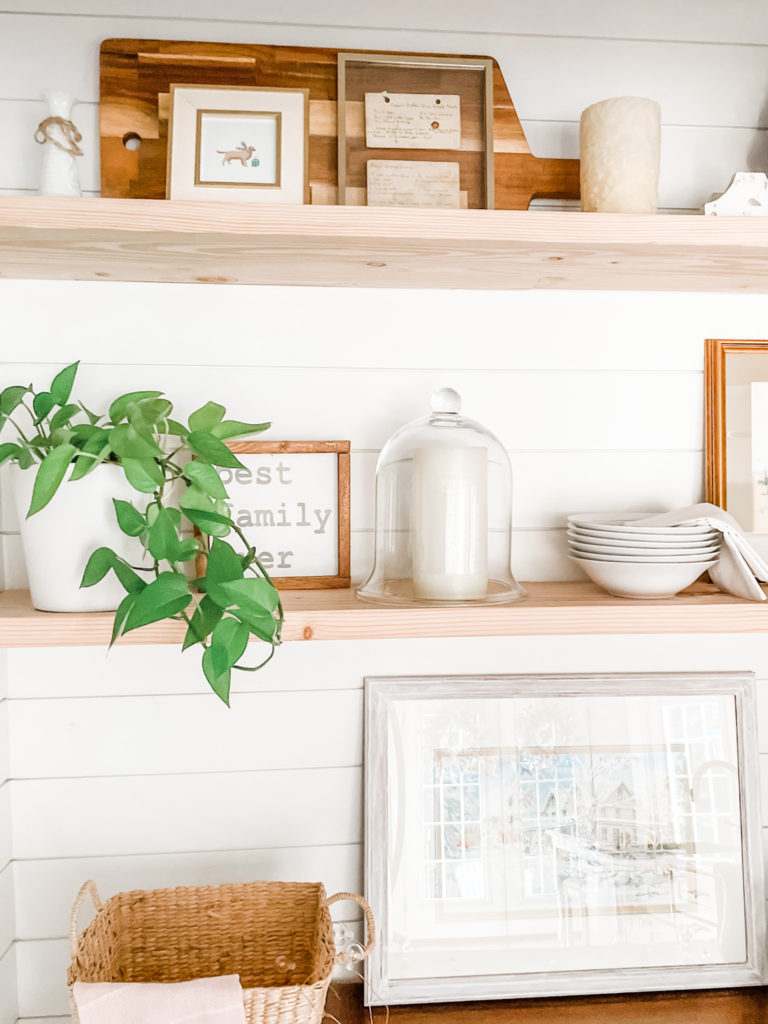
The rest is a little bit kitchen, a little bit plant life and a lot of twinkly glow.
Because twinkle lights and battery operated flameless candles are carrying me through January friends.
Give me all the LIGHT.
Anyone else?
I don’t know about you but I have a feeling this week was…hard…for you too maybe?
If you follow me on social or Insta…I shared this on Tuesday…because I believe a small admittance of authentic feeling can often help another in a big way.

Friend…I may have taught home-school all week, mustered up energy to take down Christmas, style some shelves and write some words here today that I hope will bring you inspiration to tackle a space in your home that is not serving you to the level it could…
But mostly, I want you to know that I am a slow-starter into “New Years” in general. And this year? Well it has me tip-toeing even more gently into the unknown.
And if that is you too…I want you to know you are in good company.
I shy away from the big goal setters and raring to go gangs because..this is the time of year I like to “get down, get low” with the One who stirs my soul into the direction I need to go…
and I can’t go there if I don’t do some really good listening first.
I hope you know how grateful I am that you are here, reading, commenting and sharing with others what I am creating. Thank you.
I catch myself telling my daughters to “walk lightly” around the house because it often sounds like a herd of elephants parading through…and quite simply..that is my hope for us all…that even in the midst of chaos and unknown…we will “walk lightly” into the hours and days ahead…because we know we have a good, good guide.
“For we walk by faith, not by sight.”
2 corinthians 5:7 ESV
Walk lightly friend.
New Year Blessing-
May you feel the presence of God and His spirit swell inside of you as you inch closer to His side and seek His will. May you look back on the steps you have already walked and see that there indeed was ANOTHER in the fight with you, every step of the way.
May you fall gently to your knees and call upon your Helper and know that He will guide you and replace your tired weary and overwhelmed spirit with a peace that surpasses all human understanding.
And may you walk lightly into the new minutes that await with a refreshment that only springs from the living water of Jesus.
Amen.


Wow, these projects turned out incredible! I can’t believe that those shelves only cost $40! I’m getting my cabinets redone by a local cabinet refinisher, and I’ve been debating whether or not to do floating shelves on one of the walls in my kitchen. I think your post convinced me to go for it! I’m hoping they turn out as good as yours!
Aw thank you! I researched floating shelf options for weeks on end and because we needed specific length and sizes in the style and look I loved they would have been VERY expensive! The Amazon brackets were a lifesaver and penny saver too!! I think you will be very pleased – good luck!!
Do you do anything to keep the wood on the brackets or do they just kind of stay? I want to do this above my washer and dryer but it is probably about 9-10’ across…
The wood shelves just stay put after you slide them into the arms of the brackets sticking out. Thy are very sturdy.
I love how you can see from the photos throughout the years how you used pieces you already had and loved in new ways. The two “new” spaces are beautiful.
Thank you Marcy!! One of these days you will be able to enjoy this new space with us in person. 🙂 It was fun for me also to walk down memory lane and see how we have re-purposed pieces and items. Thanks for reading friend! XO