
Looking for activities to create meaningful traditions with your family for Easter? Enjoy making this lamb cake and decoupaged Easter Eggs.
Oh friend, I am so glad that you loved this Easter post, that I wrote earlier this week.
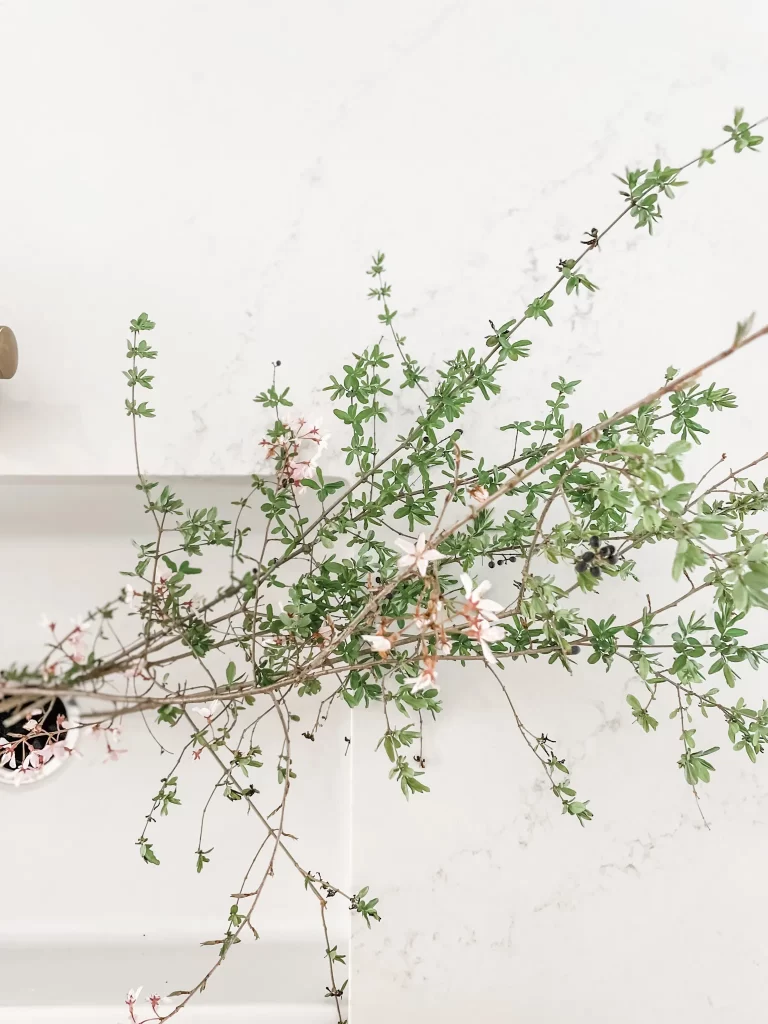
If you haven’t read, “Wait until you see what I found in the woods and what it has to do with Easter”, you can catch up HERE.
This is such a special time of year and our family has purposefully pulled back for a few days of family time, while putting our toes in the sand at our favorite beach place.
But before we left for the beach to soak in a quick recharge?
We got crafty and enjoyed some of our favorite Easter traditions.
Our girls and I kicked off their Spring break by breaking out our sweet Lamb cake mold and making two of our favorite Easter traditions.
One tradition is edible…

And the other tradition is beautiful.

I am thinking you probably have a few Easter traditions that are special to you too.
There is something about doing these same activities every year, that evoke a true sense of nostalgia and pause in the hurry up of the Spring season.
I can’t wait to show you the new spin we put on one of our Easter traditions this year and how easy it is do make beautiful Easter egg decor to enjoy year after year.
Let’s HOP TO IT!
(I couldn’t help myself!) 🙂
When the girls arrived home from school for Spring break, we wasted no time in making our Easter lamb cake that we make every year.
Here is a picture from last year’s Lamb Cake.

I grew up making this lamb cake with my Mom, and I really love carrying the tradition on with my own daughters. Sadly, I do not have my Mom’s original cast iron mold, but I did pick up my own from Home Goods several years ago.
You can order the same one from Amazon HERE or Kohl’s has the same one HERE.
My best advice for making the lamb cake?
Grease the pan HEAVILY and be sure to grease all the nooks and crannies really well, especially in the lamb’s ears!

Then, lightly cover both sides of the lamb cake mold with flour and place the mold onto a baking sheet for easy transfer to bake.
You can see the girls and I make our lamb cake last year from start to finish HERE in this Instagram Reel.
And this year?
They barely needed any assistance from Mom!


Looking for a recipe to make your own lamb cake?
I always just hop on over Pinterest! You can choose to make your cake from scratch or use a pound cake mix from the store.
Now, while the cake was baking?
We got crafty and put a spin on making our Easter egg decor this year.
It was during Easter week in 2020, that we started our tradition of decorating an EGG TREE.


How To Decoupage Easter Eggs With Napkins & Make Lasting Traditions
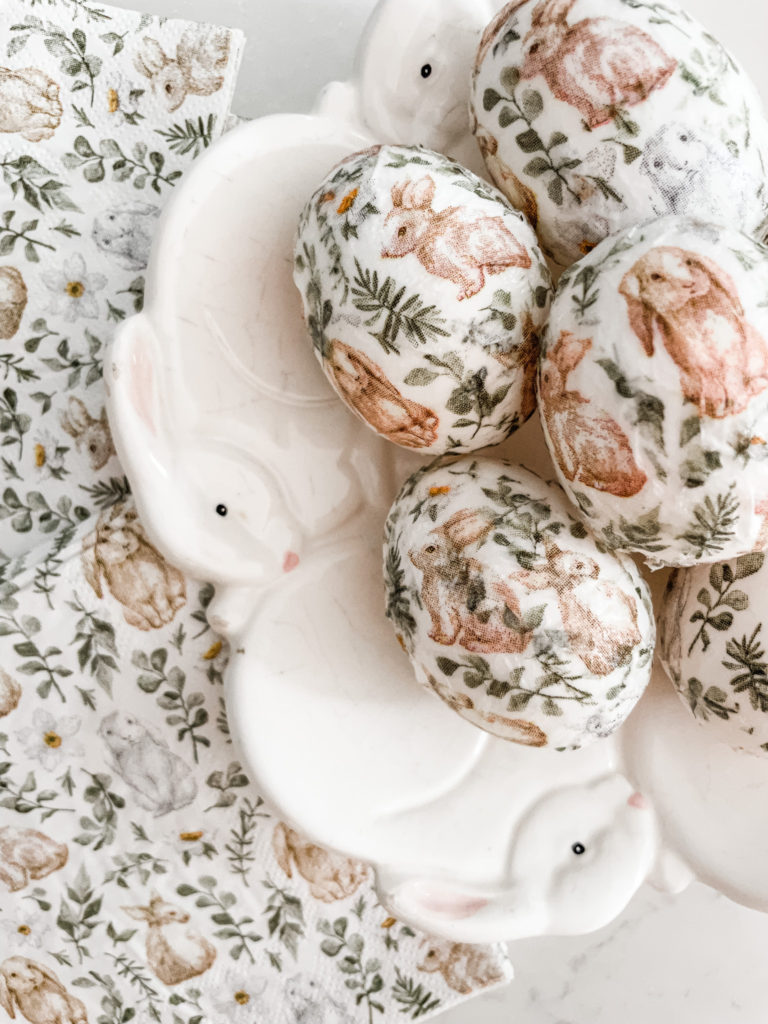
While it is always fun to dye Easter eggs, this year we decided to try something new to us and decoupage our Easter eggs with pretty bunny cocktail napkins for our egg tree.
The first step in making the Easter eggs, so that you can enjoy them year after year is to blow out the egg yolk.
This can be tricky to get the hang of at first, but these simple tips will make it much easier!
How to blow out an egg to decorate:
- Keep the egg in the carton to hold it still.

2. Use a straight pin and place it on the top of the egg.
3. Gently, tap the side of a knife handle on top of the head of the straight pin, to create a small hole at the top of the egg.
4. Pick the egg up and flip it upside down and repeat steps 2-3.
5. Make the hole at the bottom of the egg a little bit bigger than the hole at the top.
**It is also helpful to use the straight pin and poke it inside the egg and move it around a little to break up the yolk, so it will be easier for the egg yolk to slip out of the egg.
Now, you are ready to blow out the egg so that you can decorate it and enjoy it year after year.

(It is recommended to not put your mouth on the egg shell, I happened to have a small straw on hand that had come with self inflatable balloons.)
The girls love this part and blew out three eggs each to decoupage with cocktail napkins.

Now, we are ready to use Mod Podge Gloss to decoupage the eggs with cocktail napkins!


How to decoupage eggs to decorate for Easter
1. Separate the cocktail napkin layers.
Most cocktail napkins are 2 or 3 ply. Starting at a corner of the cocktail napkin, separate the extra layers of the napkin and peel completely off, so that you are only using the layer with the printed layer.

2. Next, cut small pieces of the napkin out, cutting around the design you want to apply to the eggs.

3. Using a foam brush, paint a coat of mod podge gloss all over the egg.

4. Begin placing the small, cut up pieces of cocktail napkin on to the egg.

5. Paint a coat of mod podge gloss on top of the napkin pieces as you place them on the egg.

6. Continue covering the egg with pieces of cocktail napkin, covering the entire egg again with a coat of mod podge as you go.
7. Set aside on a cookie cooling rack to dry.

Step back and enjoy!!

Guess what?
By the time we were finished decoupaging the eggs and letting them dry?
It was time to decorate the lamb cake!
Want a hot tip for decorating your lamb cake?
Spread a layer of icing on to the platter you are using to help the lamb cake “stick” and stand up straight.

Time to frost the cake (sneak a lick of icing 🙂 and decorate with this edible grass.


I am loving how these decoupaged eggs with the rose print are the perfect finishing touch to the lamb cake platter!


And?
It turned out that some of the bunny print eggs were also a perfect addition to my Easter centerpiece, that I made earlier in the Spring. You can see how I put together this Easter centerpiece, HERE in this post.


But of course, we had to save a few to add to our Egg tree!
In order to add a few new Easter eggs to our egg tree tradition, we needed to hot glue a small loop of twine to the top of the eggs.
Did you know that they make cordless hot glue guns?!?

I did not know this until recently, when I bought TEN of these cordless hot glue guns for our DIY wreath workshop we held earlier this week!
This hot glue gun comes with a charger and is so wonderful and easy to use. It holds a charge for an hour, making simple craft projects a breeze!

After we hot glued a small loop to the top of the Easter eggs, Eve wrote the date on our decoupaged Easter egg.
And now?
Our decoupaged eggs were ready to hang on the egg tree and complete our Easter tradition!

There you have it friend!
I hope you enjoyed our little afternoon of Easter traditions and are feeling inspired to make some of your own memories as we celebrate this special season.
He is Risen, He is Risen Indeed!

Happy Easter friend.
Living on a prayer,
Heather
Dear God,
Thank you for sending Your Son to take on the weight of our mistakes. Thank you for your ultimate act of love, for giving us grace and showing us mercy today and every day.
Help us to seek You every day.
Amen.
Shop this post:

*Affiliate links used at no additional cost to you.


Do you have a link to the rabbit napkins? I love that they are muted tones!
Everything turned out beautifully. 🐇🐑🥚💜
I would recommend getting light, fake eggs this season. They are probably cheaper than real eggs, which is shameful.
He is Risen!!!!
That was a good tip! I could not believe the price of eggs this year! He is Risen Indeed! XO
Loves it all’s
He is Rosen indeed!!