
Ok friends.
I want you to know that I heard you.
Loud and clear.
You want to know all the details on how we made these moss baskets for Magerk’s, a local restaurant in town that recently commissioned my Home with Heather decorating services to help them add “cozy” to their banquet room.

And in this post I am going to dish all the details, step by step on how my Mom took these baskets and created moss wall art masterpieces!
And?
How you can make them too!

One thing before we get started on all things moss wall art decor.
I want to share with you something I posted to social this week.
Because…if you have been visiting this blog space and have linked arms by subscribing for my weekly posts, to this Home with Heather community, even for just a short time?
Then, I am going to take my chances and land on the idea that you come back here not only to enjoy inspiration for your home, but also to seek encouragement for your heart.
That’s what this space in the wild west of the internet is all about.
Inspiration for your home & Encouragement for your heart.
And based on the amount of shares and especially, personal message and texts my social media post from Wednesday received…I think it it’s worth sharing this dose of encouragement here too.
Social share pic & text starts here:

This is your reminder that it’s ok to not be crazy high capacity productive today.
This is your reminder that simply waking up, doing the next right baby step in front of you…is nailing the assignment.
Because THAT is harvesting the holy soul work assigned to your unique heart.
This is your reminder that you do not need to be two steps ahead, and that taking things as they come works too.This is your reminder that your pace is perfect for you.
This is your reminder that we were each created with unique abilities and also personal limitations.
Yes, mental, physical, emotional abilities and limits, acknowledging and honoring BOTH is brave work.
This is your reminder that your current situation, the thing that is hanging you up…it too shall pass.
This is your reminder to take a deep breath, close your eyes and follow His lead.
And last…
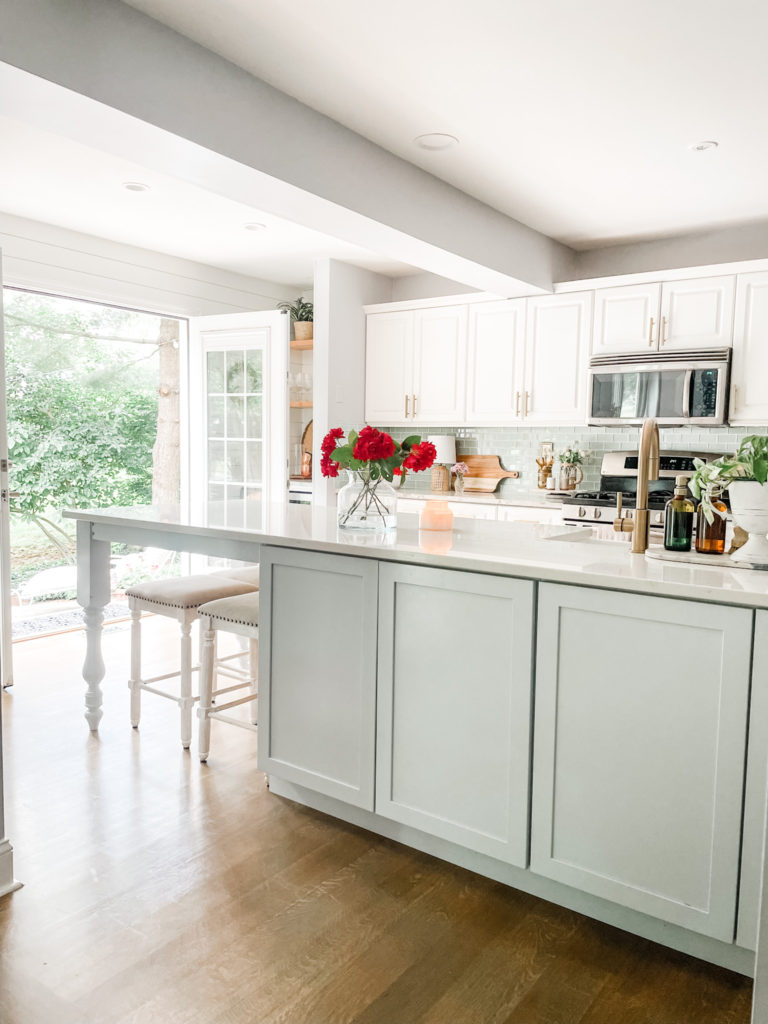
This is your reminder that this kitchen hardly ever looks like this because 5 REAL life humans LIVE here.
This is your reminder that social squares are snippets of highlights in a messy life.
Real life happens here. It’s messy and good and soul satisfying.
This is your reminder that you are worthy simply because He made you and He cares deeply for everything He creates.
No matter what.
No hustle and grind required.
(end post)
Oh friend…I pray those words help you find balance today between ease and effort as we each identify the personal knots we have become tangled up in and tied together between our worth and our productivity and all the other slippery knots we find ourselves entangled in.
What’s helping me?
Praying that God would heighten my senses to hear what is not audible and see what is not visible so that I can more clearly discern what is meant for me today and what is not.
Starting there helps and then?
Keep that audience of one conversation going between you and Him and turn down the noise of everything else.
Ok…now raise your hand if you would like those EASY steps to making your own moss wall art hanging?
Yes?
Follow me friend.

First things first…purchase your supplies!
Here is your list of supplies you will need to make the moss wall art baskets.
Supplies needed for
DIY Moss Wall Art Baskets
Flat backed basket(s)
Modge Podge
Foam Paint Brush
Moss
Succulents
Saw Tooth Picture Hangers
(Or wire, or screw & washers depending on the material of the back of the basket)

We used a variety of baskets to create the moss wall at Magerk’s restaurant.
The larger baskets were mostly bought from a variety of local stores such as Home Sense & Home Goods. Some baskets had handles, while others did not.
If creating a large moss wall, I suggest using a variety of size, pattern and texture on larger, longer walls for interest.
I staggered larger baskets in the middle and ordered smaller wicker fruit baskets like these from Amazon to help finish the end of the wall off.
If you venture out to your local home decor stores, you will most likely find a variety of baskets. For instance this basket, from Home Goods would work well if you wanted a darker wicker basket.

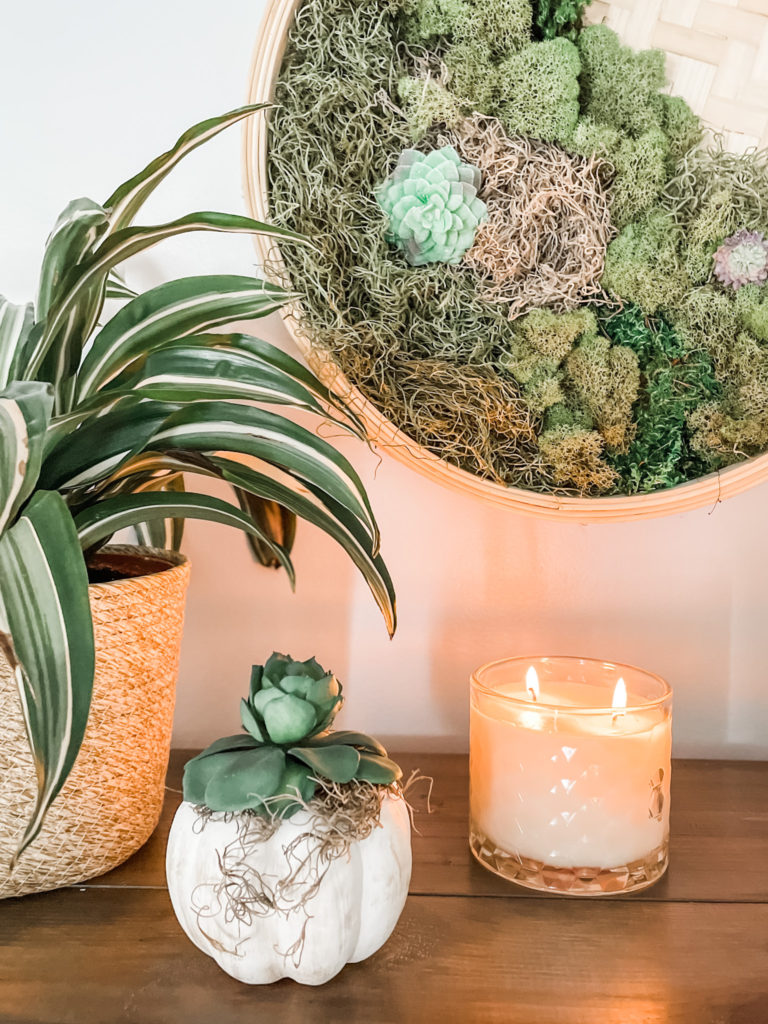
While I was selecting flat backed baskets for my own project, I found these light bleached white baskets with a unique side that I preferred from Home Sense.

I selected two different baskets in this tone so they were not completely the same but similar in color.
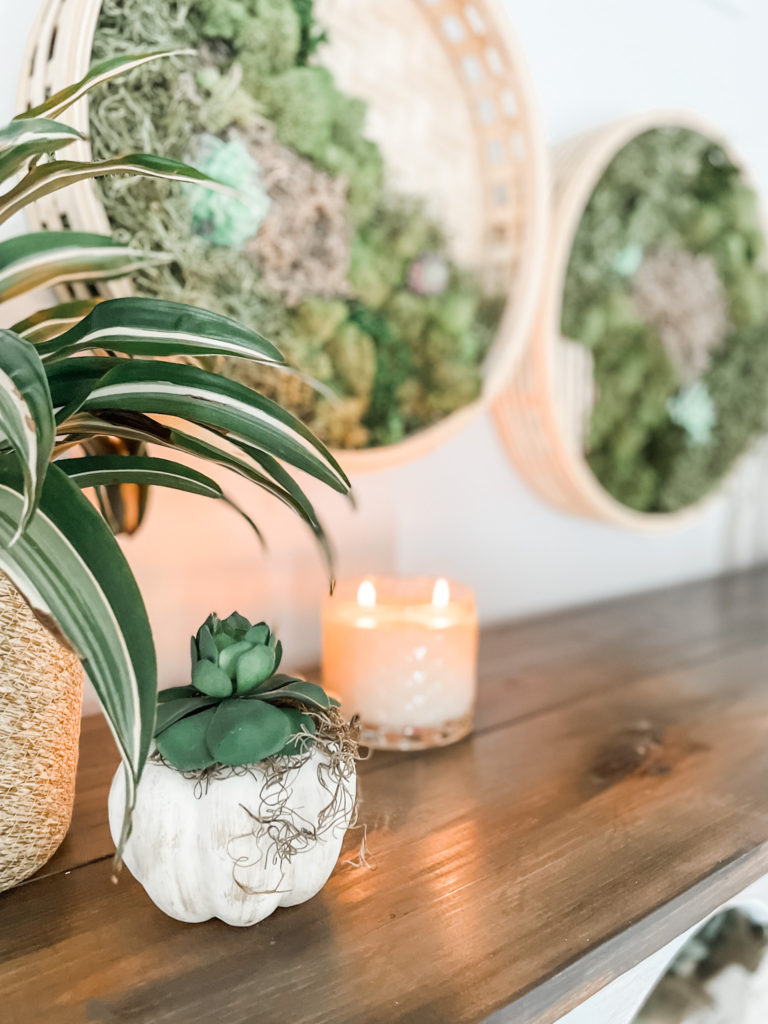
Here is a sneak peak of what they look like now.

After you have selected your baskets, you will want to gather the rest of your supplies.
You will find a large selection of moss textures and color variations at Michael’s in store or online.


I personally like this moss that offers a variety of color and this green moss from Michael’s.
In addition to the moss, we ordered a variety of succulents from Amazon (linked below) to add texture and interest on top of the moss.
We ordered several bags of succulents to give us a wide range of options.
Here are some of the succulents we used from Amazon.
Last but not least, you will need Modge Podge, a foam paint brush and saw took picture hangers or wire.
Once you have your supplies, you are ready to begin creating your moss wall art masterpiece.

First, do a dry lay out of where you think you want your variations of moss colors and textures to go in the basket.

Next, remove the moss, remembering your general layout.
Begin to lather your foam brush with a generous amount of Modge Podge and start to paint a small area of the bottom of the basket where the moss will sit on.

You also want to paint the sides of the basket to help the moss stick on the bottom and sides of the basket.

The wonderful thing about working with Modge Podge is that is drys clear so you don’t need to worry about it showing like glue and it is not super sticky when you are working with it.
As you add different varieties of moss to the basket, spread Modge Podge on to small areas of the moss to help the two varieties of moss stick together.

Once you have all of the moss laid in the basket in the arrangement you prefer, you can begin adding a few faux succulents to offer texture and interest to your moss wall art masterpiece.
Lather the back of your succulents with modge podge and place in the moss basket arrangement.

You also want to add Modge Podge to the moss in the area you are placing the succulent.

In some cases, if you are using a heavier or larger succulent, you may need to use some green floral wire like this. For the moss baskets we made in these pictures, we did not need to use any floral wire.
Step back and stare at your moss wall art materpiece!


You will notice, that for my two baskets, I opted to leave a little “open space” on the basket and not completely cover the basket. This is entirely up to you!
Just as is the variety of mosses you select.
I recommend using at least 3-4 varying types of color and texture. I chose to leave a little white space in my baskets to help them not look to “heavy.” I also loved the pattern on the bottom of the basket and wanted that to show a bit.
Let your moss wall art baskets dry for several hours.
Then, add your saw tooth hanger or feed the floral wire through the woven back of your basket for hanging on your wall!

Now, you are ready to install your moss wall baskets to the wall!

Due to the size of most of the baskets on this moss wall, we used a screw thread into a washer and gently lifted away some of the moss to drill and attach the baskets to the wall so they are VERY secure. Then we simply spread the moss back over to cover the screw and washer.
For the two smaller and lighter baskets for my home, we used saw tooth picture hangers.

We made these baskets this week and honestly, I am not 100% sure where their final landing place will be. I am considering moving them to the powder room wall and hanging them over the bold and botanical temporary wallpaper we have in the powder room.
For now, my girls have told me they LOVE them here in our main dining area where they can enjoy shining in full display.

I do agree with the girls that for now, I love seeing the depth and texture that the moss baskets bring to this wall.
And?
I really love the pattern of the side edge of the baskets that is noticeable as you walk into the room!


Speaking of walking into a room…
I am finally starting to get used to these bats that we have been having SO much FUN decorating with!!

So when you are on Amazon ordering all the things for your DIY moss wall art baskets?
Don’t forget to order these 3D bats!


Ok my sweet friends…this is where I am signing off for today.
Because?
My three girls (off from school) and I have a date with a pumpkin patch and all things Fall fun.
Like these sunflowers and all of the Apple Cider slushies and donuts we can eat!

Remember…you were created with incredible and beautiful abilities.
And?
Personal and unique limits and capacities.
Honoring that tension of individuality is brave work.
And…if you’re feeling stressed?
Work with your hands – make a moss basket!
Letting your creative side play (even if you feel like you don’t have one.)
Holding space for an hour of creative play is energizing!
And now…you have all the information you need to go and play with moss all day! 🙂
Yay you!
Dear God,
Thank you for all of the ways you invite us to enjoy creativity and “play” throughout our days. Help us to open our eyes to your invitations to step away from the grind and step into Your grace.
I pray that you would heighten my senses to see what is not visible and hear what is not audible so that I can be more in tune to Your will for my day.
Thank you for leading me well.
Amen.
Living on a prayer,
Heather
*Affiliate links used in this post for easy click shopping at no additional cost to you.

2 Comments